An elimination diet is a short-term eating plan that removes common trigger foods to help you identify what your body reacts to. It's not about weight loss or extreme restriction—it's about listening to your body and discovering which foods make you feel your best.
The key to success is simple, consistent food tracking that connects what you eat with how you feel. Many people find the idea of an elimination diet overwhelming, but with a clear plan and easy tracking methods, it becomes manageable.
You don't need complicated apps or fancy journals. A notebook and a few minutes each day can give you powerful insights into your health.
What Is an Elimination Diet and Why Track Your Food?
An elimination diet is a short-term eating plan that removes common trigger foods to help you identify which foods may be causing unwanted symptoms. By systematically removing and then reintroducing foods, you can pinpoint sensitivities and make informed dietary choices.
The core idea is simple: for 2 to 4 weeks, you avoid foods known to commonly cause reactions—such as dairy, gluten, eggs, soy, nuts, and processed foods. During this time, you eat only whole, low-allergen foods like lean proteins, vegetables, fruits, and healthy fats. After the elimination phase, you gradually reintroduce one food at a time while monitoring your body's response.
Key Points
- Elimination diet removes common trigger foods for 2-4 weeks
- Tracking helps connect symptoms to specific foods
- Simple methods like paper logs or apps work well
How Food Tracking Supports the Process
Tracking what you eat and how you feel is essential to an elimination diet. Without a record, it's nearly impossible to see patterns. A simple food diary—whether on paper, a spreadsheet, or an app—lets you log meals, snacks, and any symptoms like bloating, headaches, fatigue, or skin changes.
Over time, you'll start to notice correlations. For example, you might see that headaches often follow meals containing dairy or gluten. This data turns guesswork into clarity, helping you make confident decisions about which foods to keep or avoid long term.
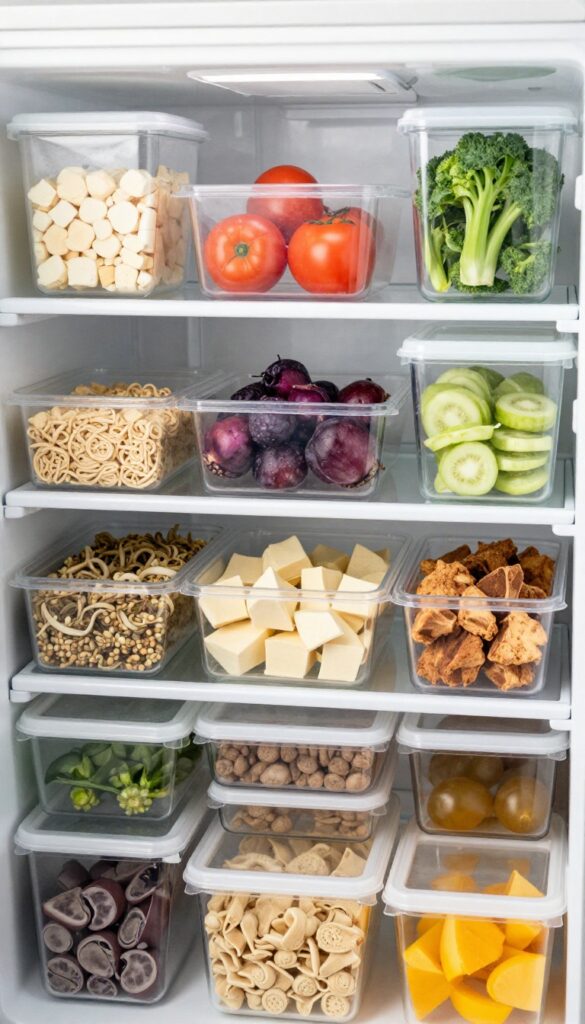
Getting Started: Foods to Remove and Foods to Keep
Before you begin your elimination diet, it's essential to know exactly which foods to cut out and which ones you can enjoy freely. This phase typically lasts 2–4 weeks, and the goal is to give your body a clean slate so you can later identify triggers with confidence.
Common Trigger Foods to Eliminate
The following foods are the most common culprits behind food sensitivities. Remove all of them for the duration of the elimination phase:
- Dairy: milk, cheese, yogurt, butter, cream, ice cream
- Gluten: wheat, barley, rye, and any products containing these grains (bread, pasta, cereals, baked goods)
- Soy: tofu, tempeh, edamame, soy sauce, soy milk, processed foods with soy lecithin
- Eggs: whole eggs, egg whites, and foods made with eggs
- Nuts and seeds: almonds, walnuts, peanuts, cashews, sunflower seeds, etc.
- Shellfish: shrimp, crab, lobster, clams, mussels
- Processed foods: anything with artificial additives, preservatives, sweeteners, or refined sugars
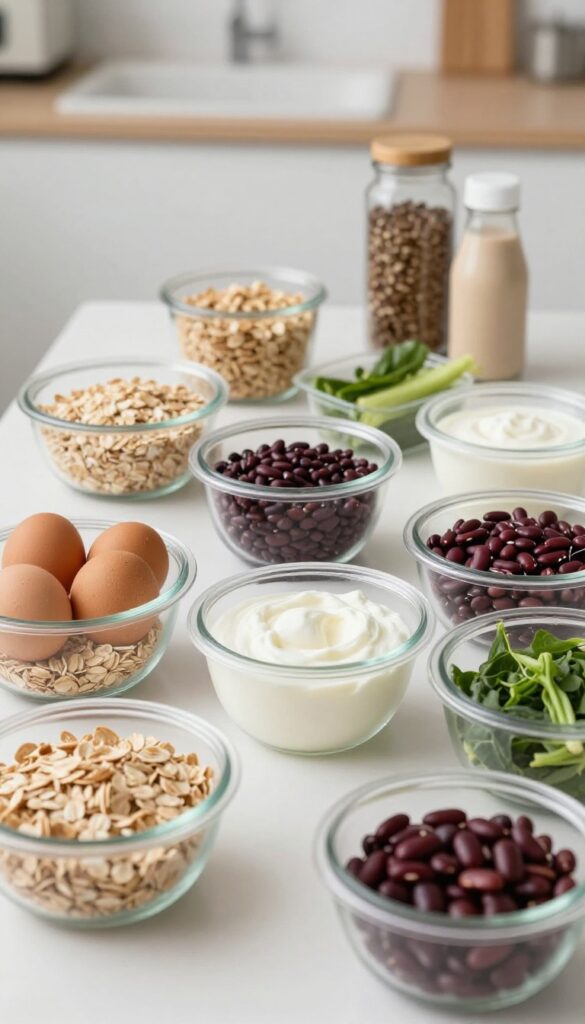
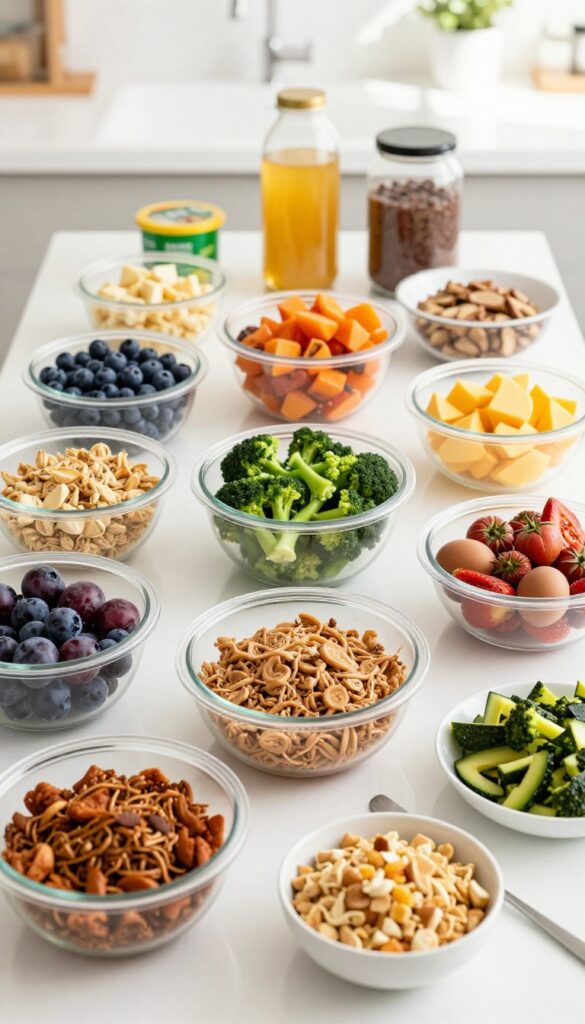
Safe Foods to Enjoy Freely
Fill your plate with these whole, nutrient-dense foods that are unlikely to cause reactions:
- Vegetables: all fresh or frozen (broccoli, spinach, carrots, zucchini, sweet potatoes, etc.)
- Fruits: fresh or frozen (berries, apples, bananas, oranges, melon, etc.)
- Lean meats: chicken, turkey, beef, lamb, wild fish (avoid breaded or marinated versions)
- Grains: white rice, brown rice, quinoa, millet, buckwheat, oats (certified gluten-free)
- Legumes: lentils, chickpeas, black beans, kidney beans (if tolerated)
- Healthy fats: olive oil, coconut oil, avocado, coconut milk (canned without additives)
When shopping, read ingredient labels carefully. Look for hidden sources of trigger foods—for example, soy lecithin in chocolate, malt vinegar (gluten) in pickles, or whey (dairy) in protein bars. If you're unsure about an ingredient, skip that item during the elimination phase.
Simple Food Tracking Methods That Work
Tracking what you eat and how you feel is the most important part of an elimination diet. Without a record, it's nearly impossible to connect symptoms to specific foods. Luckily, tracking doesn't have to be complicated.
Here are three simple methods that work.
Pen and Paper Log
A simple notebook or a printed template is often the most effective tool. There's no learning curve, no battery to charge, and no distractions. Keep your log in the kitchen and jot down meals as you eat them.
Include the food, approximate portion, time, and any symptoms you notice. Many people find that handwriting helps them stay more mindful.
Mobile Apps for Convenience
If you prefer digital, apps like MyFitnessPal, Cronometer, or Cara Care can streamline the process. They allow you to log foods quickly, add custom notes for symptoms, and even spot patterns over time. Just be careful not to get lost in the details—focus on recording the essentials rather than perfecting every nutrient.
What to Record Each Day
Consistency matters more than perfection. Even if you miss a few entries, keep going. The goal is to spot patterns, not to create a flawless diary.
Over time, you'll start to see connections that help you identify your trigger foods.
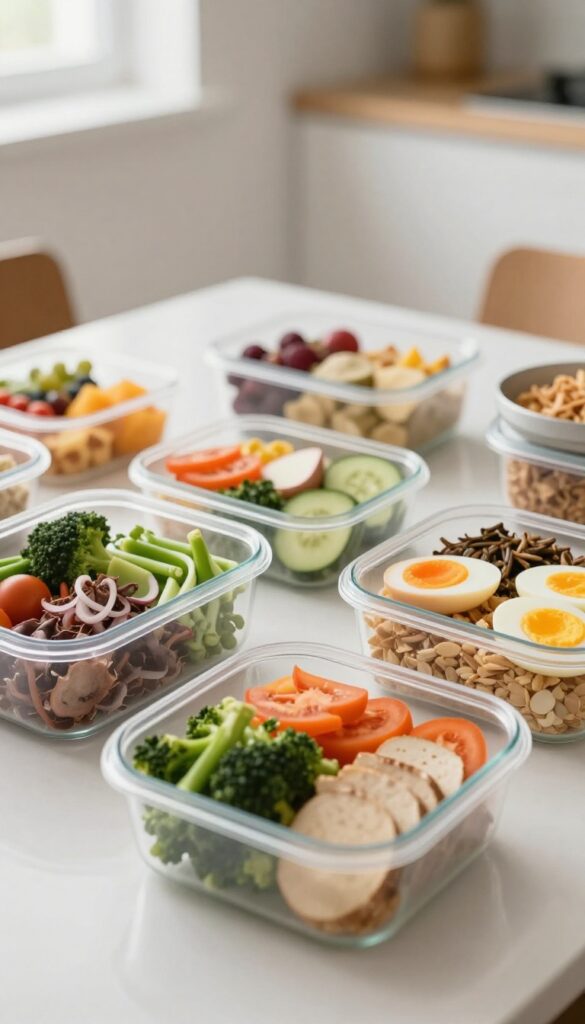
Sample 7-Day Elimination Diet Meal Plan

This sample meal plan is designed to be simple, satisfying, and free of common trigger foods. Each day includes breakfast, lunch, dinner, and a snack option. Portions can be adjusted based on your hunger and activity level.
Remember to drink plenty of water throughout the day.
Day 1: Simple Start
Breakfast: Scrambled eggs with spinach and a side of sliced avocado. Lunch: Grilled chicken breast over a bed of mixed greens with olive oil and lemon juice. Dinner: Baked salmon with steamed broccoli and a small sweet potato.
Snack: Apple slices with almond butter (if tolerated).
Day 2: Variety with Vegetables
Breakfast: Smoothie made with unsweetened almond milk, spinach, banana, and a scoop of hypoallergenic protein powder. Lunch: Turkey lettuce wraps with cucumber, bell pepper, and mustard. Dinner: Stir-fry with shrimp, bok choy, carrots, and coconut aminos served over cauliflower rice.
Snack: Handful of raw almonds.
Day 3: Protein Focus
Breakfast: Two hard-boiled eggs and a pear. Lunch: Leftover stir-fry from Day 2. Dinner: Grilled beef patty (no bun) with a side of roasted asparagus and a baked potato with olive oil.
Snack: Celery sticks with sunflower seed butter.
Day 4: Grain Bowls
Breakfast: Oatmeal made with certified gluten-free oats, water, and cinnamon, topped with blueberries. Lunch: Quinoa bowl with roasted chicken, cucumber, cherry tomatoes, and a lemon-tahini dressing (if tahini is tolerated). Dinner: Baked cod with sautéed zucchini and yellow squash.
Snack: A handful of pumpkin seeds.
Day 5: Leftovers and Simplicity
Breakfast: Smoothie from Day 2. Lunch: Leftover quinoa bowl. Dinner: Roasted turkey breast with green beans and a side of mixed greens.
Snack: Banana with a drizzle of honey (if tolerated).
Day 6: Weekend Prep
Breakfast: Omelet with mushrooms, onions, and kale. Lunch: Tuna salad (canned tuna in water, olive oil, lemon, and herbs) served on cucumber slices. Dinner: Lamb chops with roasted Brussels sprouts and a side of sweet potato wedges.
Snack: Sliced pear.
Day 7: Flexible Eating
Breakfast: Leftover omelet or a smoothie. Lunch: Grilled chicken salad with mixed greens, strawberries, and balsamic vinaigrette (ensure no added sugar). Dinner: Use any leftover proteins and vegetables to create a simple bowl.
Snack: Carrot sticks with guacamole (if avocado is tolerated).
Portion Guidance
Aim for a palm-sized portion of protein, a fist-sized portion of vegetables, and a cupped-hand portion of healthy carbs (like sweet potato or quinoa) at each meal. Adjust based on your appetite and energy needs.
How to Reintroduce Foods After Elimination
After completing the elimination phase, the next step is to carefully reintroduce foods to identify which ones trigger symptoms. This process should be done methodically to get clear results.
Step 1: Choose One Food Group
- Pick a single food group to test, such as dairy, gluten, eggs, or soy. Start with the food you miss most or suspect is safe. Do not combine multiple foods in one test.
Step 2: Eat It in a Moderate Amount
- On the test day, eat a moderate serving of the chosen food—for example, a glass of milk for dairy or a slice of bread for gluten. Avoid eating an excessive amount, as that could cause a reaction unrelated to sensitivity.
Step 3: Wait and Observe Symptoms
- After eating the test food, wait and monitor your body for any symptoms over the next 24 hours. Common reactions include bloating, gas, headaches, fatigue, skin issues, or changes in digestion. Note the time of onset and severity.
Step 4: Record Your Reaction
- Write down what you ate, the amount, and any symptoms you experienced. Use your food and symptom tracker to log this information. If you had no symptoms, consider the food likely safe.
- If you had a reaction, that food may be a trigger.
Step 5: Wait 2-3 Days Before Next Reintroduction
- After testing one food, wait 2-3 days before trying the next. This washout period allows any delayed reactions to appear and ensures your body returns to baseline. If you had a strong reaction, wait until symptoms fully resolve before moving on.
Common Mistakes and How to Avoid Them
Even with a solid plan, certain pitfalls can undermine your elimination diet. Here are the most common mistakes and practical ways to sidestep them.
Not Reading Labels Thoroughly
Hidden ingredients in condiments, sauces, and supplements can sabotage your efforts. Many packaged foods contain soy, gluten, or dairy in unexpected forms.
- Check ingredient lists for terms like "hydrolyzed vegetable protein" (soy), "maltodextrin" (corn), or "natural flavors" (may contain allergens).
- Be wary of salad dressings, marinades, and spice blends—they often include sugar, yeast extract, or modified food starch.
- When in doubt, stick to whole foods or contact the manufacturer for clarification.
Forgetting to Track Non-Food Factors
Stress, sleep quality, and hydration can significantly influence your symptoms. If you only track food, you might miss the real trigger.
- Note your stress level (1-10) and hours of sleep each day in your food log.
- If you experience a flare-up, check whether you had a poor night's sleep or an unusually stressful day before blaming a food.
- Consider adding a simple column for "mood" or "energy" to your tracking method.
Giving Up Too Soon
The elimination phase requires patience. Many people quit after a few days because they don't see immediate changes, but it can take at least two weeks for your body to adjust.
- Commit to a minimum of 14 days in the elimination phase before evaluating results.
- Remind yourself that initial discomfort (headaches, fatigue) can be a normal detox reaction, not a sign that the diet isn't working.
- If you slip up, don't restart the clock—just get back on track and note the incident in your log.
Tips for Staying on Track Long Term
Sticking with an elimination diet beyond the initial phase requires planning and flexibility. The goal is to make this way of eating sustainable so you can accurately identify your triggers without feeling deprived.
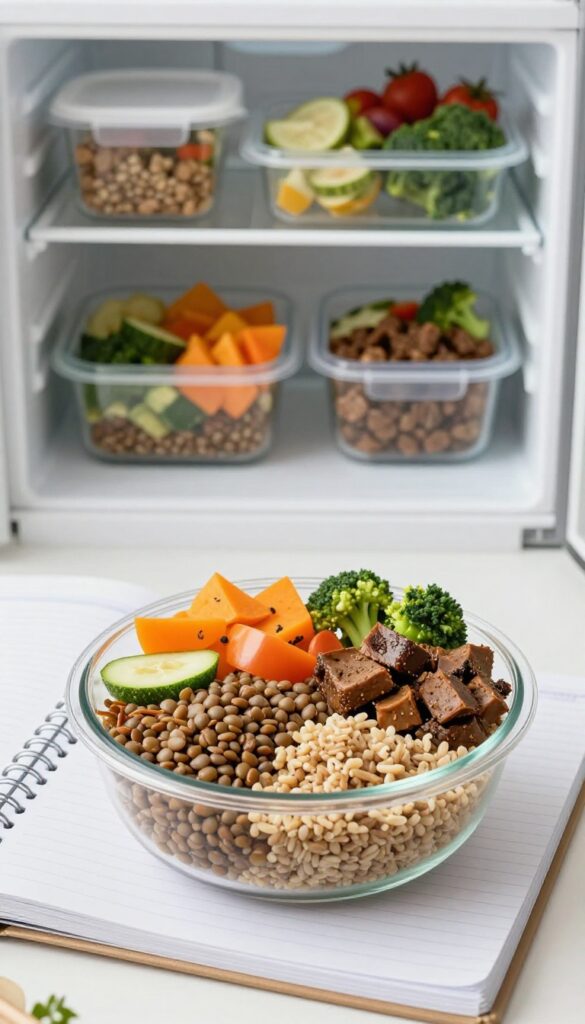
Meal Prep Strategies
Batch cooking is your best friend. Dedicate a few hours each week to prepare safe staples that can be mixed and matched. Cook a large batch of quinoa or rice, roast a tray of vegetables, and grill several portions of chicken or fish.
Store them in portion-sized containers so you can grab a balanced meal in minutes. Also, prep snacks like chopped veggies, hard-boiled eggs, or homemade energy balls made from allowed ingredients.
Freeze individual servings of soups, stews, or casseroles for days when you have no time to cook. Having a stocked freezer means you always have a safe meal ready.
Eating Out and Social Events
Navigating restaurants and gatherings can be tricky, but it’s possible with a little preparation. Before going out, check the menu online and identify dishes that are likely compliant. Call ahead to ask about ingredients or modifications.
When ordering, be polite and specific: “I have a food sensitivity and need to avoid dairy, gluten, and soy. Can this dish be made without butter or soy sauce?” Most restaurants are happy to accommodate.
Key Strategies for Social Situations
- Eat a small safe snack before you go so you’re not starving and tempted.
- Bring a dish to share that you know is safe—this ensures you have something to eat.
- Focus on simple preparations like grilled meats and steamed vegetables.
- If in doubt, order a salad with oil and vinegar dressing (ask for no croutons or cheese).
Remember, it’s okay to say no to offered foods. A simple “I’m following a specific eating plan right now, but thank you” is sufficient. You don’t need to explain your entire health history.
Keep Emergency Snacks Handy
Always carry a small stash of compliant snacks in your bag or car. Good options include nuts (if allowed), fruit, rice cakes with nut butter, or individual packets of olives. This prevents you from reaching for convenient but non-compliant options when hunger strikes unexpectedly.
FAQ
How long should I stay on the elimination phase?
Most experts recommend 2 to 4 weeks. This gives your body enough time to clear potential triggers and establish a baseline. If you feel significantly better after 2 weeks, you can start reintroducing foods.
If not, you may need to extend the elimination phase or consult a professional.
Will I lose weight on an elimination diet?
Weight loss is not the primary goal, but some people do lose weight because they cut out processed foods and eat more whole foods. However, the diet is designed to identify food sensitivities, not to promote weight loss. Focus on how you feel rather than the scale.
Can I take supplements during the elimination diet?
Yes, but check labels for common allergens like gluten, soy, or dairy. Many supplements contain fillers. Stick to single-ingredient supplements if possible, and consult your doctor before adding anything new.
Is this diet safe for children?
Elimination diets for children should only be done under medical supervision. Children have different nutritional needs, and restricting foods can affect growth. Always work with a pediatrician or dietitian.
What if I don't notice any changes?
If you don't see improvement after 4 weeks, you may not have food sensitivities, or you might be reacting to something still in your diet. Consider working with a healthcare professional to explore other causes or to try a more targeted elimination.
Conclusion
An elimination diet paired with simple food tracking can be a powerful tool for understanding your body's unique needs. By removing common triggers and carefully observing your symptoms, you gain clarity about which foods support your well-being. The process requires patience and consistency, but the insights are worth the effort.
Remember, this is a temporary diagnostic tool, not a permanent way of eating. Once you identify your triggers, you can build a balanced diet that keeps you feeling great.

Dr. Pallab Kishore, MS in Orthodontics and owner of Orthodontic Braces Care, shares expert tips on braces, aligners, and oral health from 10+ years of experience.
