Last updated on October 29th, 2025 at 10:39 am
You can’t use any type of toothbrush, flosser, and other tooth cleaners with braces. You need the best cleaning tools for braces that are safe and more effective.
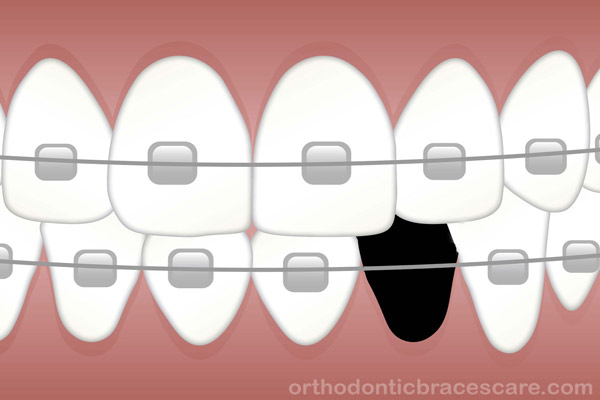
Maintaining oral hygiene is mandatory with braces because brackets and wires create rough surfaces inside your mouth and over your teeth.
Foods can get stuck easily with those irregular surfaces of braces and an excessive amount of plaques, and bacteria can be deposited on them over time.
That’s why you have to choose teeth and braces cleaning tools correctly to prevent that from happening. This prevents the yellow staining of braces and keeps your teeth white.
In this article, I have provided a list of the best cleaning tools for braces.
8 Best cleaning kits for braces
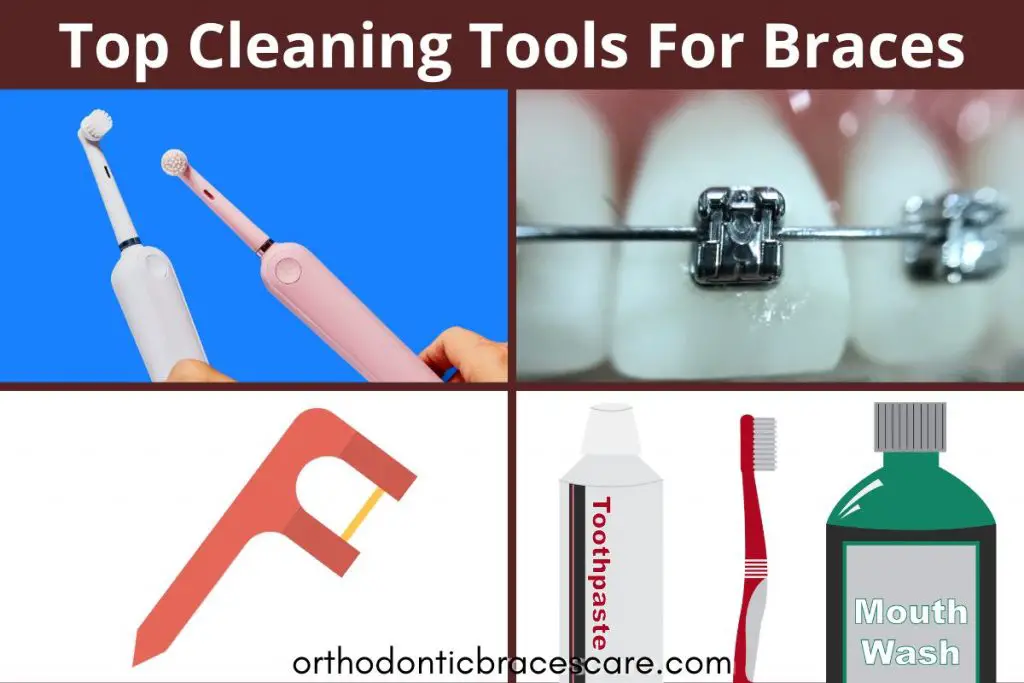
Here the top braces leaning tools that you need to get the best result.
1. Manual toothbrush
You can’t skip brushing your teeth with braces as food debris and plaque will accumulate and produce bacteria and acid and damage your teeth over time.
Brushing and flossing are the two main techniques to clean the braces and teeth.
But, you have to be before picking a product.
If you use a hard bristle toothbrush, it will damage the braces and wires.
So, to prevent loose brackets or pooped out wires, use the safe and effective toothbrush for braces.
However, the brushing technique for braces is not the same as you do without them.
A wrong technique like pressing the brush head hard against the brackets can break them easily.
However, the poor cleaning technique may not remove all debris thoroughly.
So, learn the best method of using a regular toothbrush.
There are many types of nonelectric toothbrushes available in the market such as a soft bristle braces-friendly toothbrush, v-trim and interdental toothbrush.
Our recommended Manual toothbrush:
2. Electric toothbrush
An electric toothbrush is recommended by many orthodontists during braces treatment as it can remove plaque and food particles more effectively.
Many well-known brands provide special brush heads for braces. This ensures effective cleaning and safety for braces.
An electric toothbrush doesn’t put pressure on your braces and can remove debris from hard to reach areas in your mouth.
This device is also easy to use and has special features like brushing timers and cleaning modes.
You can buy either a battery-powered and rechargeable variety.
Learn how to use an electric toothbrush with braces to get the best result.
Our recommended Electric toothbrush:
3. Fluoride Toothpaste
You must use fluoride toothpaste with braces on teeth
You may have used various types of toothpaste till now. But, after getting braces, you have to be more careful.
If your toothpaste can’t clean your teeth and braces and make your mouth germ free, you may end up with tooth decay, staining, and gum diseases.
Fluoride toothpaste protects your teeth from tooth decay and other ingredients also keep your mouth fresh and make it free from germs.
You shouldn’t use a tooth whitening toothpaste or product while wearing braces as they will make teeth look discolored once braces come off.
Moreover, you should buy toothpaste from well-known brands.
Besides, keep in mind that all toothpaste doesn’t contain the same ingredients.
Our recommended Fluoride Toothpaste:
4. Ortho Flossers
Ortho flossers are special types of flossers that are made for braces. That means they are friendly for braces.
These flossers can floss in between your teeth as well as under the wires more effectively and safely.
Flossing is a “must-to-do” task while wearing brackets and wires.
If you don’t floss regularly, food debris and plaque that get caught in braces and in between teeth can’t be cleaned completely.
Even, it’s almost impossible to clean with a toothbrush alone.
So, floss your teeth regularly along with brushing.
You must learn the proper method of flossing teeth with braces.
If you don’t know it, you may not clear debris thoroughly or may break the braces.
However, an ortho flosser makes the task easier.
Our recommended Ortho Flossers:
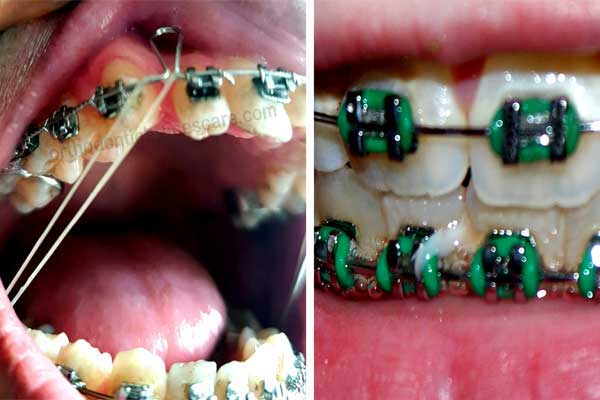
5. Floss Threader
Like an ortho flosser, floss threaders are also very effective with braces.
If you know the right technique, you can use this flosser to remove debris thoroughly from braces and in between teeth.
It’s also very easy to use and safe for braces. So, you can buy it if you want.
Flossing should be performed at least once a day, especially before going to bed to get the best result.
This will prevent tooth staining, gum disease, and dental caries.
Our recommended Floss Threader:
6. Mouthwash
Braces create a more irregular surface inside your mouth. So, there a high chance that more germs and plaque accumulate on teeth.
Besides, it’s a difficult task to remove all debris completely while wearing them. As a result, people often develop bad breath or foul smell.
So, you can use mouthwash to keep your mouth fresh.
Mouthwash also helps fight against many germs in your mouth.
Our recommended Mouthwash:
7. Water flossers
Water flosser uses steam of water to remove food debris and plaque that’s stuck under braces wire and in between teeth.
As you have to put your maximum effort to maintain oral hygiene with braces, you can get one for yourself.
These flossers are much easier to use than regular flossers.
Waterpik is a popular brand for the water flosser. There are battery-powered and rechargeable water flossers available in the market.
Cordless variety is easy to carry if you travel too much.
Learn how to use a water flosser with braces.
Our recommended water flosser:
8. Tongue Scraper
This may not be directly related to braces cleaning, but you should use a tongue scraper to reduce germ build inside your mouth and keep your mouth fresh.
Therefore, there is less chance of developing plaque or tooth staining.
Tongue scraping removes stains from the tongue and prevents bad breath.
Our recommended Tongue Scraper:
Tips for braces cleaning
Here are some tips to clean braces and teeth.
1. Brush 2-3 times a day.
You should brush your teeth at least 2-3 times a day, especially after each meal to get the best outcome.
2. Floss at least once a day.
Floss your teeth after dinner and before you sleep and then brush your teeth thoroughly.
3. Use an electric toothbrush once a day.
If you have an electric toothbrush, use it at least once if you can’t carry it all the time with you, maybe because of your office or school.
Brush your teeth with an electric toothbrush before you go to bed on working days. And, use a regular toothbrush after breakfast and lunch.
4. Change toothbrush or brush head regularly.
One brush head can’t survive very long. Replace the brush head every 2 months if you are using an electric toothbrush.
If you use a regular toothbrush, change it every 1-2 months.
5. Avoid vigorous toothbrushing
Poor brushing technique and pressing bristles hard against the braces can be responsible for falling off of brackets or poking wire.
6. Learn the proper brushing technique
Follow the right method of brushing teeth to prevent any damage and ensure maximum cleaning.
7. Use proper flossing method
If you have never floss your teeth before you may find it an uneasy task to floss teeth thoroughly.
So, think about how difficult it can be when you have braces on your teeth. Moreover, poor technique can break the braces or wire. So, you must know the proper technique of flossing.
8. Tooth whitening products
Tooth whitening products only clean exposed portions of your teeth while wearing braces. So, you will have an uneven tooth color if you use tooth whitening kits like whitening strips or toothpaste.
9. Never use a hard bristle toothbrush
Braces wire is very sensitive as a hard surface can break it or make it loose. So, always avoid hard bristle toothbrushes with braces. In fact, a hard bristle toothbrush is also bad for teeth and gums even without braces.
10. Rinse mouth after eating
Rising is the easiest way to get rid of food particles. Every time uses eat something, Rinse your mouth. Rinsing before tooth cleaning also makes it easier to remove all debris thoroughly.
Takeaways
As regular braces and teeth cleaning is mandatory for braces to prevent various dental problems, you should have braces cleaning kits that are essential.
However, be aware of certain tools that can damage your braces.

Dr. Pallab Kishore, MS in Orthodontics and owner of Orthodontic Braces Care, shares expert tips on braces, aligners, and oral health from 10+ years of experience.