Dry, brittle strands often feel like a losing battle, but the fix isn't a miracle product—it's smarter daily habits. These 23 glow up hair tips tackle everything from washing techniques to nighttime routines, giving you a clear roadmap to softer, healthier hair.
No fluff, just practical moves you can start tonight. Whether you're fighting frizz or breakage, each tip targets a specific pain point.
Ready to transform your hair care game? Let's dive into the first upgrade.
1. Upgrade Your Shampoo Game
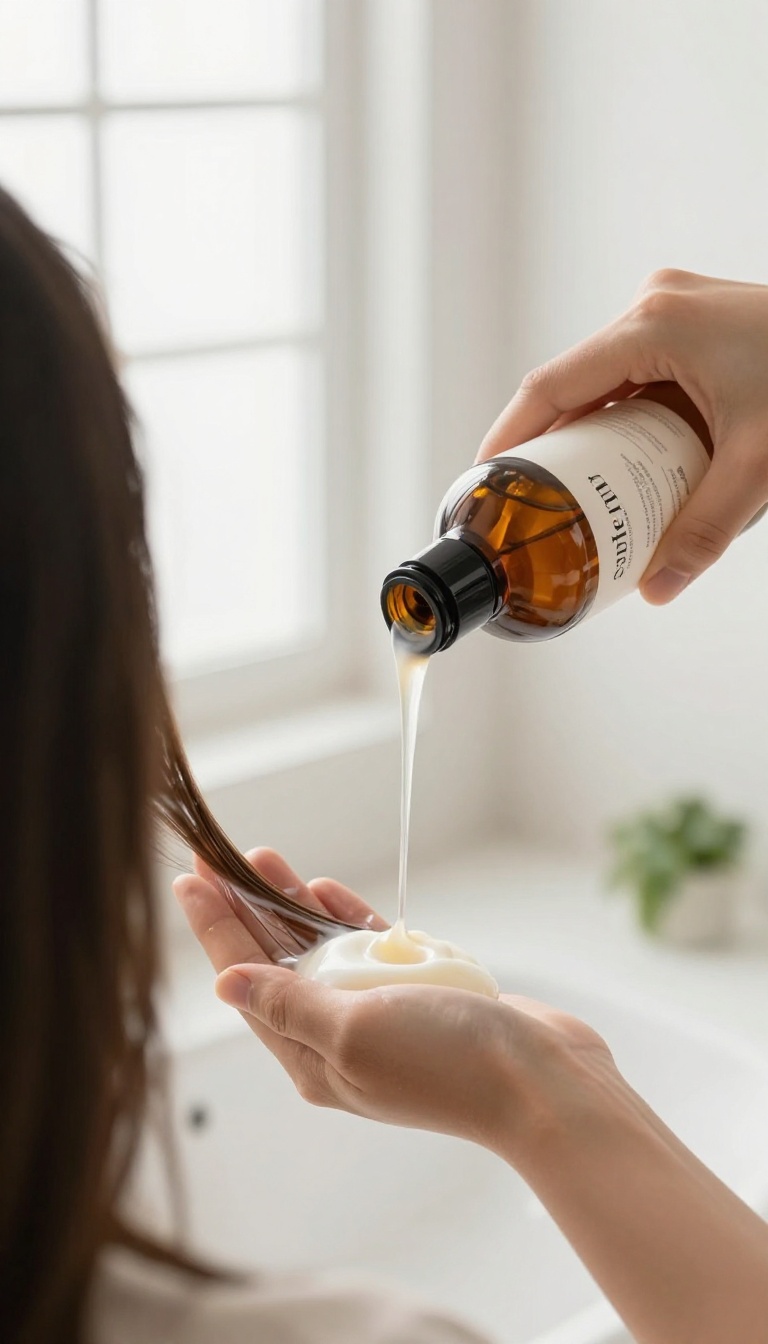
Your shampoo is the first thing that touches your strands, so it sets the tone for everything else. If you're using a harsh formula, you're basically undoing all the good work from your conditioner and treatments. The switch to a sulfate-free cleanser is a small change that can make a huge difference in how your hair feels.
Sulfates are detergents that create that foamy lather, but they also strip away your hair's natural oils, leaving it dry and prone to breakage. By choosing a sulfate-free shampoo, you're being kinder to your scalp and strands. Look for one that's tailored to your hair type—whether it's curly, color-treated, or oily—to get the best results.
Why Sulfates Are The Enemy
Sulfates are harsh cleansers that can leave your hair feeling like straw. They strip away the protective lipid layer, which leads to moisture loss and frizz. Switching to a gentle, sulfate-free option helps maintain your hair's natural balance, so it stays softer and more manageable.
Match The Formula To Your Hair
Not all sulfate-free shampoos are created equal. If you have fine hair, go for a lightweight formula that won't weigh it down. For thick or curly hair, pick something more hydrating.
Color-treated hair benefits from a sulfate-free shampoo that's also color-safe, so your hue stays vibrant longer.
How To Transition Smoothly
When you first switch, your hair might feel a bit different as it adjusts. That's normal. Give it a couple of weeks to regulate its oil production.
You might even find you can go longer between washes because your scalp isn't being stripped dry.
2. Condition Like a Pro
Most of us slap conditioner on our whole head and rinse it off a few seconds later. That's a missed opportunity. Your conditioner works best when you give it time and place it where it actually matters.
The ends of your hair are the oldest, most damaged parts, while your scalp produces natural oils that keep the roots conditioned. So focus your conditioner on the mid-lengths and ends, and let it sit for a few minutes before rinsing. This simple tweak can make a huge difference in softness and manageability.
Where To Apply
Squeeze a quarter-sized amount of conditioner into your palms, then work it through the middle of your hair down to the tips. Avoid the roots unless your hair is very dry or curly. This prevents greasy buildup while giving the fragile ends the moisture they crave.
How Long To Leave It
Read the label, but a good rule is to leave conditioner on for 2 to 5 minutes. Use that time to wash your body or shave. If you have deep conditioner, you can extend it to 10 minutes for an extra boost.
The longer contact time allows the ingredients to penetrate the hair shaft.
Rinse Smart
Finish with a cool water rinse. Cold water helps seal the hair cuticle, locking in moisture and boosting shine. It's a quick, free way to make your conditioner work harder.
If cold showers aren't your thing, just do a final 10-second cold blast on your hair.
3. Don't Skip the Deep Conditioner
Heat styling, color treatments, and even harsh weather can strip your hair's natural moisture, leaving it feeling rough and looking dull. A quick rinse-out conditioner helps, but it's not enough to repair deeper damage. That's where a weekly deep conditioning mask comes in—it's like a hydration boost for your strands, delivering concentrated ingredients that soak in and restore softness from the inside out.
Deep conditioners are formulated with richer oils, butters, and proteins that penetrate the hair shaft more effectively than everyday conditioners. Using one once a week can dramatically improve elasticity, reduce breakage, and add noticeable shine. The key is to choose a mask that matches your hair's needs—protein-based for strength, moisture-rich for hydration, or a balanced formula for normal hair.
Why Weekly Matters
Your hair endures a lot daily, from UV rays to friction from brushing. A weekly deep conditioning session gives your strands a concentrated dose of nutrients that regular conditioners can't provide. It's not just about feeling nice—it actively repairs the cuticle, preventing future damage and keeping your hair resilient.
How To Apply For Best Results
Start with clean, damp hair—towel-dried is perfect. Work the mask through the mid-lengths to the ends, where damage is most common, and avoid the roots if you have fine hair. Leave it on for the time specified on the label, usually 5 to 20 minutes.
For an extra boost, pop on a shower cap and let the heat from your head help the ingredients penetrate deeper.
Choosing The Right Mask
Look for ingredients like shea butter, argan oil, or keratin, depending on your hair's needs. If your hair feels brittle and snaps easily, a protein-rich mask can strengthen it. If it's dry and frizzy, opt for a moisture-heavy formula.
Don't be afraid to switch it up seasonally—your hair's needs change with the weather and your styling habits.
4. Rinse with Cool Water
That hot shower feels amazing, but it's also rough on your strands. Heat lifts the cuticle, which leads to frizz and dullness. A quick cool rinse at the end changes everything—it seals the cuticle flat, locking in moisture and boosting shine instantly.
Why Cold Water Works
Cold water causes the hair cuticle to contract and lie flat. This smooths the surface, so light reflects better and your hair looks glossier. It also helps lock in the conditioner and treatments you’ve just applied, keeping moisture where it belongs.
How To Do It Without Suffering
You don’t need a full icy blast. After conditioning, switch to lukewarm water for a few seconds, then gradually make it cooler. Aim for about 30 seconds of cool water—just enough to seal the cuticle.
If you can’t handle it on your whole body, tilt your head under the spray so only your hair gets the cold rinse.
Extra Shine Boost
For an extra glossy finish, mix a few drops of argan or jojoba oil into your palms and smooth it over damp hair after the cool rinse. This adds a layer of polish and tames any remaining flyaways.
5. Ditch the Cotton Towel
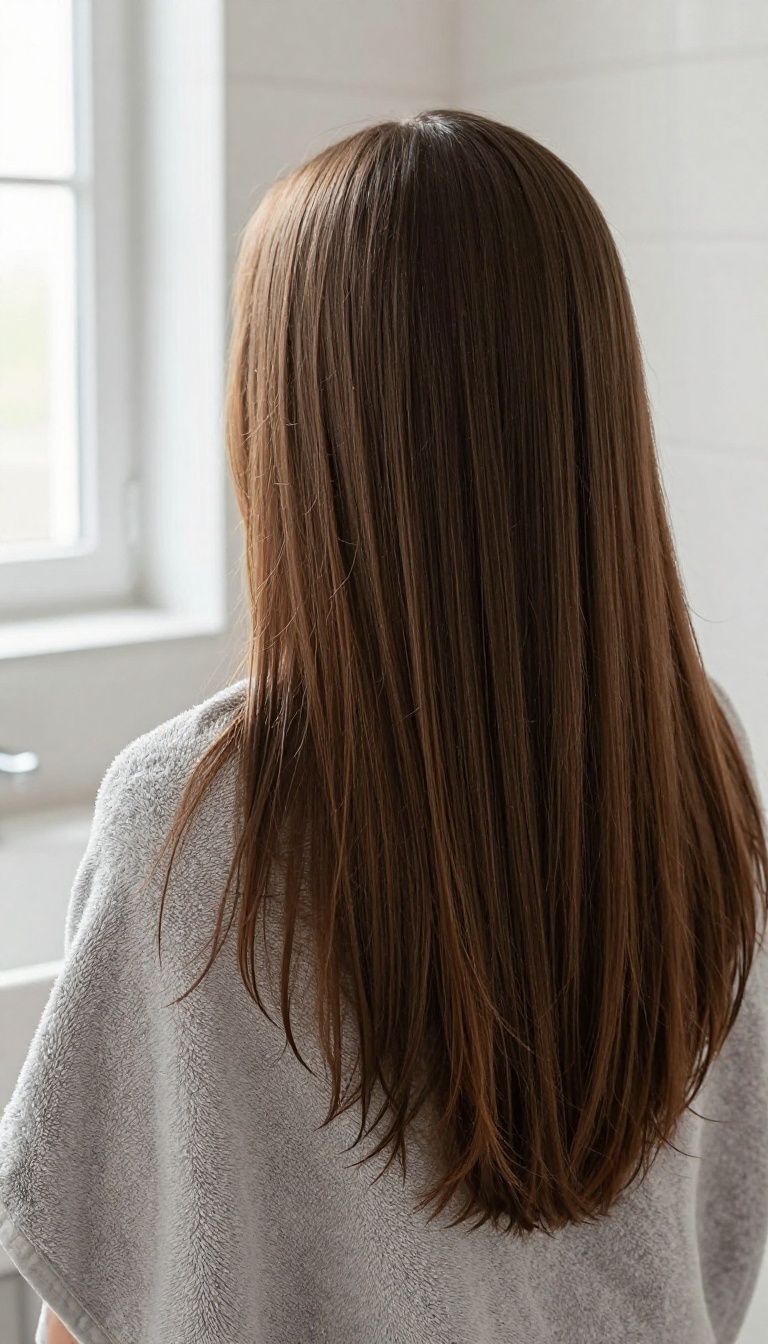
Cotton towels feel soft, but they're secretly rough on your hair. The coarse fibers create friction that lifts the cuticle, leading to frizz, split ends, and breakage. Swapping to a smoother material is an easy fix that pays off immediately.
You'll notice less tangles and a healthier shine, even before you change anything else in your routine.
Why Cotton Is The Enemy
Cotton towels have a rough, looped texture that grabs at your strands. Rubbing your hair dry with one is like filing the cuticle. Over time, this weakens the hair shaft and makes it more prone to snapping.
Even patting with a cotton towel can cause friction, especially when hair is wet and most vulnerable.
The Microfiber Or T-shirt Swap
Microfiber towels are designed to be gentle and absorbent. They pull water away without roughing up the cuticle. An old cotton t-shirt works just as well—the smooth knit creates less friction.
Both options cut drying time and reduce frizz, making them a no-brainer upgrade.
How To Dry Without Damage
Skip the vigorous rubbing. Instead, gently squeeze out excess water, then wrap your hair in the towel or t-shirt. Let it sit for a few minutes to absorb moisture.
When you're ready to style, unwrap and air-dry or blow-dry with a diffuser. Your strands will thank you.
6. Let Hair Air-Dry More Often
Heat styling is convenient, but it comes at a cost. Frequent blow-drying can strip moisture from your strands, leaving them brittle over time. Giving your hair a break by air-drying more often is one of the simplest ways to improve its health.
Air-drying lets your hair dry naturally, which helps it retain moisture and reduces the risk of heat damage. It's not about never using a blow dryer again—just being more mindful about when you do. Your hair will thank you.
Why Air-drying Helps
When you air-dry, your hair's cuticle stays smoother because it's not exposed to intense heat. This reduces frizz and breakage, especially for those with wavy or curly textures. Plus, you save time and energy—no more wrestling with a dryer on busy mornings.
How To Air-dry Without The Frizz
Start by gently squeezing out excess water with a microfiber towel—no rough rubbing. Apply a leave-in conditioner or a lightweight styling cream to lock in moisture. Then, let your hair dry naturally, and avoid touching it too much while it's damp to prevent frizz.
When You Do Blow-dry
If you're in a rush or need a polished look, use a heat protectant spray before blow-drying. Keep the dryer on a low or medium heat setting and keep it moving to avoid concentrating heat in one spot. Finish with a cool shot to seal the cuticle and add shine.
7. Use a Heat Protectant Always
Heat styling is convenient, but it comes at a cost. Every pass with a flat iron or curling wand can strip moisture and weaken the hair shaft. That's where a good heat protectant steps in—it's the shield your strands need before the heat hits.
A heat protectant isn't just an extra step; it's a non-negotiable one. It forms a protective barrier that helps lock in moisture and prevent breakage. You don't need a salon-grade product—just one that suits your hair type and heat styling habits.
Spray it on damp or dry hair, depending on the formula, and comb through to ensure even coverage. Then style as usual. Your future self will thank you when your ends stay soft and split ends stay away.
Pick The Right Formula
Not all heat protectants are created equal. Look for lightweight sprays if you have fine hair, and richer creams or oils if your strands are thick or coarse. Check the label for ingredients like silicones or heat-activated polymers that help distribute heat evenly.
And if you use a hot tool daily, opt for a protectant with higher thermal protection, usually up to 450°F.
Apply It The Right Way
Don't just spray and go. For sprays, hold the bottle about six inches away and mist evenly over sections. For creams, rub a small amount between your palms and work it through the mid-lengths and ends—avoid the roots to prevent greasiness.
Comb through to distribute the product, then let it dry or blow-dry before using hot tools.
Don't Forget The Ends
The ends are the oldest, most fragile part of your hair, so they need extra love. Make sure your heat protectant covers them thoroughly. If you're using a spray, flip your head and spray the ends directly.
For creams, focus the application there. This simple habit can make a huge difference in preventing split ends and breakage.
8. Turn Down the Heat
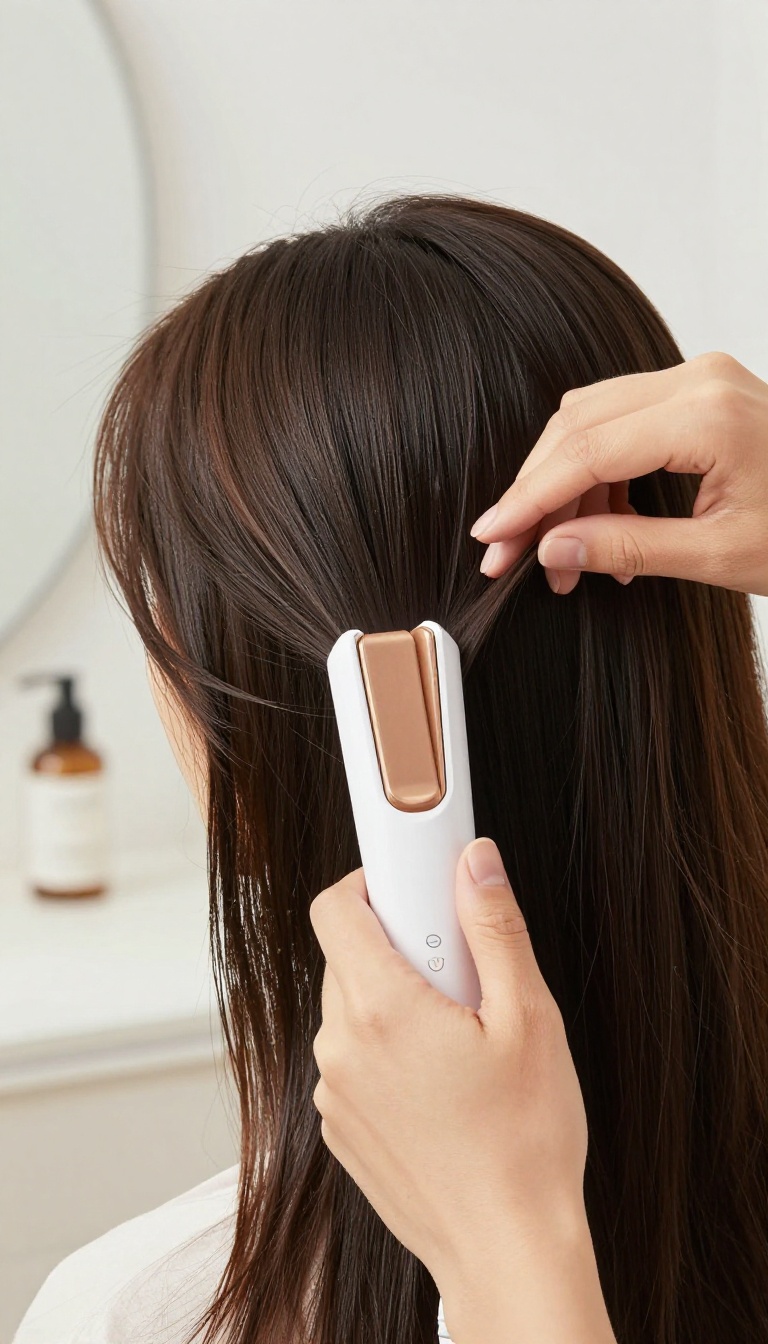
Your styling tools might be the biggest culprit behind dry, damaged hair. Cranked-up heat can literally boil the moisture out of your strands, leaving them brittle and prone to breakage. The good news?
You don't have to give up your blow dryer or flat iron—just dial it down a notch.
Most of us default to the highest heat setting, thinking it'll get the job done faster. But your hair type doesn't need that much heat to style effectively. Fine hair can be styled at lower temperatures, while thicker or coarser hair might need a bit more, but still less than the max.
Start with the lowest setting and work your way up only if necessary.
Know Your Hair's Heat Tolerance
Fine, thin hair is more susceptible to heat damage, so keep your tools in the 250–300°F range. Medium-textured hair can handle up to 350°F, while thick or curly hair may need up to 400°F. But remember: the lower the temperature, the healthier your hair in the long run.
Use A Heat Protectant Every Time
A good heat protectant creates a barrier between your strands and the heat, reducing moisture loss and preventing breakage. Spray it on damp hair before blow-drying, and reapply a small amount before using any hot tools. It's a non-negotiable step for keeping your hair soft and shiny.
Let Your Hair Air-dry First
Instead of blow-drying soaking wet hair, let it air-dry until it's about 80% dry. This cuts down the time your hair is exposed to heat. When you do use a dryer, keep it moving and use the cool shot button at the end to seal the cuticle and lock in shine.
9. Get Regular Trims
Skipping trims might feel like you're saving length, but it's actually letting split ends travel up the shaft and cause more breakage. That's why regular trims are a non-negotiable for anyone chasing softer, healthier strands. Think of it as a reset button for your hair—removing the damaged bits makes the rest look and feel better instantly.
Trimming every 8-12 weeks keeps your ends looking fresh and prevents split ends from worsening. It also helps maintain your hairstyle's shape, so you're not fighting with uneven layers or straggly ends. Even if you're growing your hair out, regular trims are still essential—they keep the ends healthy so you actually retain length over time.
Why Split Ends Worsen Over Time
Split ends aren't just an aesthetic issue—they weaken the hair fiber and cause the strand to fray further up, leading to breakage and a rough texture. Once a split starts, it doesn't heal, so the only real fix is cutting it off. Regular trims stop the damage from spreading and keep your hair looking smooth and polished.
How Often Should You Trim?
The classic advice is every 8-12 weeks, but that can vary based on your hair type and how much damage you're dealing with. If you use heat styling or color regularly, you might need to trim more often—around every 6-8 weeks. On the flip side, if your hair is low-maintenance and you're growing it out, you can stretch it to 12 weeks or even a bit longer.
What To Ask Your Stylist
When you go in for a trim, be clear about your goals. If you're growing your hair, ask for just a dusting to remove split ends without losing length. If you want to refresh your style, ask for a more substantial cut.
And always request that they use sharp scissors—dull blades can cause more damage.
10. Brush with Care
Brushing seems like a no-brainer, but the wrong brush or timing can wreak havoc on your strands. Wet hair is especially fragile—it stretches and snaps more easily. The right tools and technique make all the difference in keeping your hair smooth and strong.
Start with a wide-tooth comb on wet hair to detangle gently, working from the ends up. Once dry, switch to a boar bristle brush to distribute your scalp's natural oils down the shaft. This not only adds shine but also reduces the need for extra product.
Why Wet Hair Needs Extra Tlc
When hair is wet, the cuticle lifts and the strands are more elastic. Pulling a brush through can cause micro-tears and breakage. A wide-tooth comb glides through with less resistance, so you get tangles out without the damage.
Always start at the ends and work your way up to avoid snapping.
The Boar Bristle Magic
Boar bristle brushes are great for dry hair because they gently polish the cuticle and move sebum from the scalp down to the ends. This natural conditioning keeps hair soft and reduces frizz. Use it in small sections, starting at the roots and brushing through to the tips.
Brushing Do's And Don'ts
Don't brush wet hair with a regular brush—that's a recipe for breakage. Do use a detangling spray or leave-in conditioner before combing. Also, avoid over-brushing dry hair; 10-15 strokes a day is plenty to distribute oils without stressing the strands.
11. Sleep on Silk
Your pillowcase might be undoing all your hard work while you sleep. Cotton absorbs moisture and creates friction, leaving you with frizz and tangles by morning. Switching to silk or satin is a small change that makes a big difference overnight.
Why Cotton Is The Enemy
Cotton fibers are rough and absorbent. They pull moisture from your hair and cause friction as you toss and turn. This leads to breakage, split ends, and a rough texture over time.
The Silk Advantage
Silk and satin are smooth and gentle on hair. They reduce friction, so your strands glide instead of snag. They also help retain natural oils, keeping your hair hydrated and less frizzy.
How To Make The Switch
Look for a high-quality silk pillowcase (mulberry silk is great) or a satin one if you're on a budget. You can also try a silk bonnet or scarf if you prefer. Just swap it out and notice the difference in a few nights.
12. Try a Loose Braid at Night

Your nighttime routine can be just as important as your morning one. Tossing and turning on a cotton pillowcase can create friction that leads to tangles, breakage, and frizz. A simple fix is to secure your hair in a loose braid or bun before you hit the pillow.
This gentle style keeps strands contained and reduces stress on your hair while you sleep. Plus, you'll wake up with soft, subtle waves that look effortlessly styled.
A loose braid is a game-changer for overnight hair care. It prevents tangles and minimizes friction against your pillowcase, which means less breakage and smoother strands come morning. The key is to keep it loose—tight styles can cause tension and damage.
Using a soft scrunchie or silk tie adds extra protection.
Why Loose Is Key
Tight braids pull at your roots and can cause stress on your hairline. A loose braid keeps hair secure without the tension. Aim for a relaxed plait that sits comfortably, not pulled taut.
This reduces breakage and prevents headaches.
Pick The Right Tie
Elastic bands with metal parts can snag and break hair. Instead, use a soft scrunchie or a silk hair tie. These are gentler on strands and won't leave creases.
They also hold the braid in place without being too tight.
Prep Your Hair First
For best results, lightly mist your hair with water or apply a drop of leave-in conditioner before braiding. This adds moisture and reduces friction. You can also add a small amount of hair oil to the ends to seal in hydration.
13. Eat for Your Hair
Your hair needs more than just topical treatments—it needs fuel from the inside. The right nutrients can strengthen strands, boost shine, and even encourage growth. Think of your diet as the foundation for every product you use.
Start by adding more protein to your plate. Hair is made mostly of a protein called keratin, so getting enough is non-negotiable. Omega-3s keep your scalp hydrated and reduce inflammation, while vitamins like A, C, and E support healthy oil production and collagen.
The good news? You don't need a complicated plan—just a few smart swaps.
Protein Power
Eggs, lean chicken, and Greek yogurt are easy ways to hit your protein goals. If you're plant-based, lentils, chickpeas, and tofu work just as well. Aim for a serving at every meal to keep your strands strong and less prone to breakage.
Healthy Fats And Omega-3s
Salmon, walnuts, and chia seeds are packed with omega-3s that nourish your scalp and add natural shine. A handful of almonds or a spoonful of flaxseed oil can also do the trick. These fats help keep your hair flexible, so it resists snapping.
Vitamins And Minerals
Spinach, sweet potatoes, and citrus fruits deliver the vitamins your hair craves. Iron and zinc are especially important—low levels can lead to shedding. A simple salad with spinach and bell peppers or a side of roasted sweet potatoes can make a real difference.
14. Stay Hydrated
Water does more than quench your thirst—it keeps your hair flexible and less prone to snapping. When you're dehydrated, your strands lose moisture from the inside out, turning dull and brittle. That's why this simple habit is a non-negotiable step in your glow-up routine.
Your hair is made of about 25% water, so it's no surprise that hydration directly impacts its strength and shine. Without enough water, your scalp can become dry and flaky, and your hair may feel rough and look lifeless. Drinking water throughout the day helps maintain the moisture balance from within, complementing the products you use on the outside.
How Much Water Is Enough?
Aim for at least 8 glasses a day, but adjust based on your activity level and climate. If you're active or live in a dry area, you'll need more. Listen to your body—if your lips or skin feel dry, your hair likely needs a boost too.
Make Hydration Easy
Carry a reusable water bottle and set reminders on your phone. Infuse water with fruits or herbs for a refreshing twist. Small habits like drinking a glass before each meal can add up quickly.
Pair Water With A Balanced Diet
Water works best when paired with nutrients like omega-3s and vitamins. Foods like cucumber, watermelon, and leafy greens also contribute to your overall hydration. So, hydrate from the inside and out for the best results.
15. Massage Your Scalp
Your scalp is the foundation for healthy hair, and a simple massage can do wonders. It boosts blood flow to the follicles, which means more nutrients and oxygen reaching your roots. Plus, it's a great way to de-stress after a long day.
Spend a few minutes each day gently massaging your scalp with your fingertips. Use circular motions and light to medium pressure. You can do it dry, or add a few drops of hair oil for extra slip and nourishment.
This simple habit not only feels amazing but also helps stimulate hair growth and improve overall hair health.
Why It Works
Massaging increases blood circulation to the scalp, which delivers essential nutrients to hair follicles. It also helps distribute natural oils from your scalp down the hair shaft, keeping strands moisturized and reducing dryness.
How To Do It Right
Use your fingertips (not nails) and apply gentle pressure in small circles. Start at the front of your scalp and work your way back. Spend about 2-3 minutes, ideally before washing your hair or as part of your evening routine.
You can also use a scalp massager tool for added convenience.
When To Make It A Habit
Try to incorporate a scalp massage into your routine at least a few times a week. Consistency matters more than intensity. Pair it with your favorite hair oil or leave-in treatment for an extra boost of hydration.
16. Don't Overwash
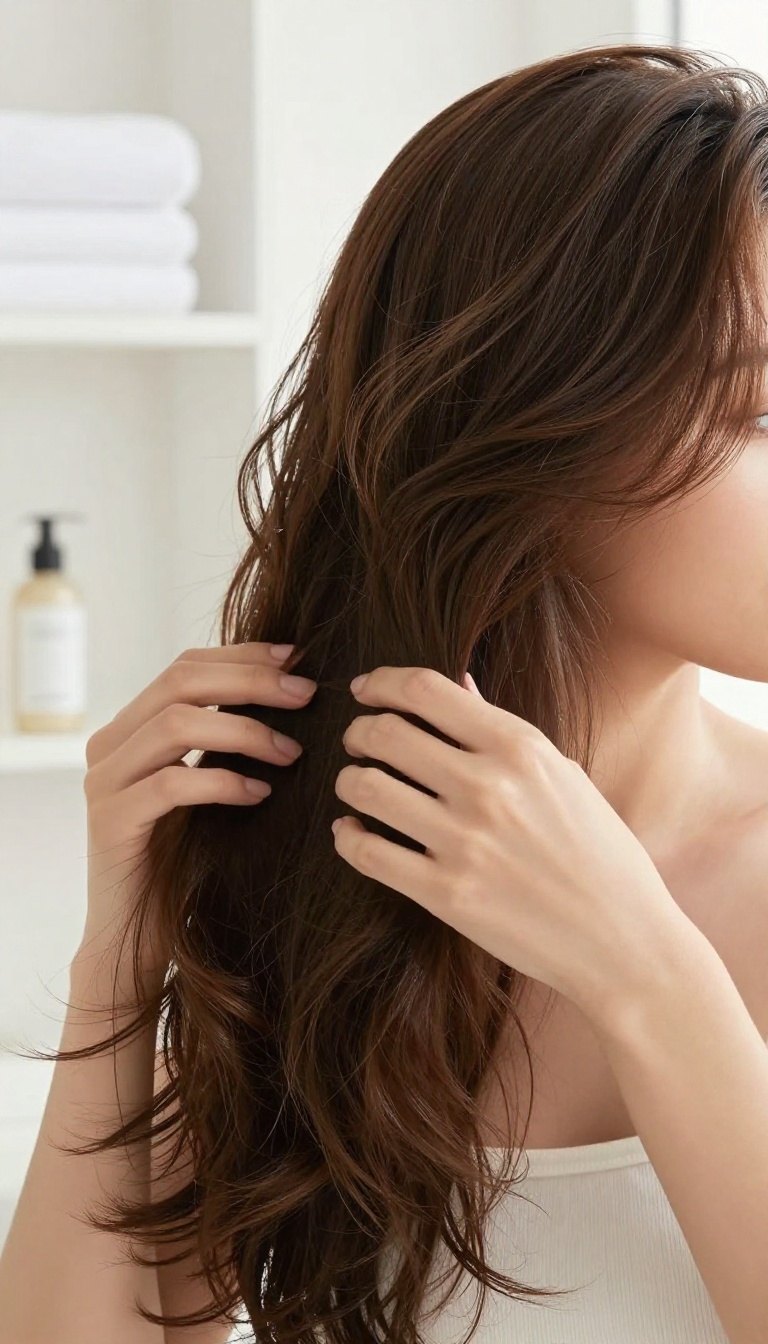
Overwashing is one of the fastest ways to strip your hair of its natural moisture, leaving it dry and brittle. Most of us are conditioned to wash daily, but unless you're hitting the gym or have an oily scalp, that's often too much. Cutting back to 2–3 times a week lets your scalp's natural oils do their job, keeping strands softer and more resilient.
When you wash too frequently, you're removing the protective barrier that keeps your hair hydrated. This leads to increased frizz, breakage, and a dull appearance. Instead of reaching for shampoo every morning, try spacing out your washes and see how your hair responds.
It might take a week or two for your scalp to adjust, but the payoff is worth it.
How To Stretch Between Washes
If you're used to daily washing, start by skipping one day and using dry shampoo at the roots to absorb excess oil. You can also try a gentle co-wash (conditioner-only wash) on off days to refresh without stripping. Gradually increase the gap until you find a rhythm that works for your hair type.
The Right Way To Use Dry Shampoo
Apply dry shampoo to your roots before bed or at least a few minutes before styling to let it absorb. Massage it in with your fingertips, then brush through to distribute. Avoid overusing it, as buildup can weigh hair down and cause dullness.
Listen To Your Hair
Your hair will tell you what it needs. If it feels greasy by day two, you might need a lighter conditioner or a clarifying shampoo once a week. If it feels dry and brittle, you're probably washing too often.
Adjust based on how your hair feels, not a rigid schedule.
17. Use a Clarifying Shampoo Monthly
Even with a solid routine, product buildup can sneak up on you. Styling creams, dry shampoo, and hard water minerals cling to strands, leaving hair looking dull and feeling heavy. That's where a clarifying shampoo comes in—it's like a reset button for your hair.
Once a month, swap your regular shampoo for a clarifying formula to deep-clean your scalp and strands. It lifts away residue and revives your hair's natural bounce and shine. Think of it as a fresh start for softer, healthier hair.
A clarifying shampoo works differently from your everyday cleanser. It contains stronger surfactants that break down stubborn buildup, but that also means it can be drying if overused. That's why sticking to once a month is key—it gives you the benefits without stripping your hair's natural oils.
When you do clarify, follow up with a hydrating conditioner or a deep conditioning mask. This restores moisture and keeps your strands soft and manageable. Your hair will feel lighter, look shinier, and absorb your regular products more effectively.
How To Pick The Right Clarifying Shampoo
Look for a formula that's sulfate-free if you have color-treated hair, or one with chelating ingredients like EDTA if you deal with hard water. Avoid clarifying shampoos with harsh alcohols that can dry out your strands. A gentle but effective option will clean without leaving your hair feeling like straw.
The Right Way To Clarify
Wet your hair thoroughly, then apply a quarter-sized amount of shampoo. Massage it into your scalp and work it through the lengths, focusing on the areas where you use the most product. Let it sit for a minute or two, then rinse well.
Follow with a rich conditioner, and if you have time, a weekly mask for extra nourishment.
Signs You Need To Clarify
If your hair feels greasy even after washing, lacks volume, or your regular products just aren't working like they used to, it's time to clarify. Also, if you notice flaky buildup on your scalp, a monthly reset can help. Listen to your hair—it will tell you when it needs a deep clean.
18. Protect from the Sun
You wouldn't dream of skipping sunscreen on your skin, but your hair needs the same kind of protection. UV rays break down the proteins in your strands, leaving them dry, brittle, and prone to fading. A little shade goes a long way.
Sun damage isn't just a summer problem—it happens year-round, even on cloudy days. The result? Faded color, rough texture, and split ends that make your hair look tired.
The fix is simple: treat your hair like you treat your skin.
Grab A Hat
A wide-brimmed hat is your hair's best friend. It blocks direct rays and keeps your scalp safe, too. If you're at the beach or just running errands, throw one on.
Bonus: it adds instant style.
Use A Uv Protectant Spray
Sprays with UV filters are easy to apply and create a shield against damage. Mist it through damp or dry hair before heading out. Look for lightweight formulas that won't weigh your strands down or leave them sticky.
Rinse After Swimming
Chlorine and salt water can amplify sun damage. Rinse your hair with fresh water right after a swim to wash away these harsh elements. Follow up with a leave-in conditioner to restore moisture.
19. Limit Chemical Treatments
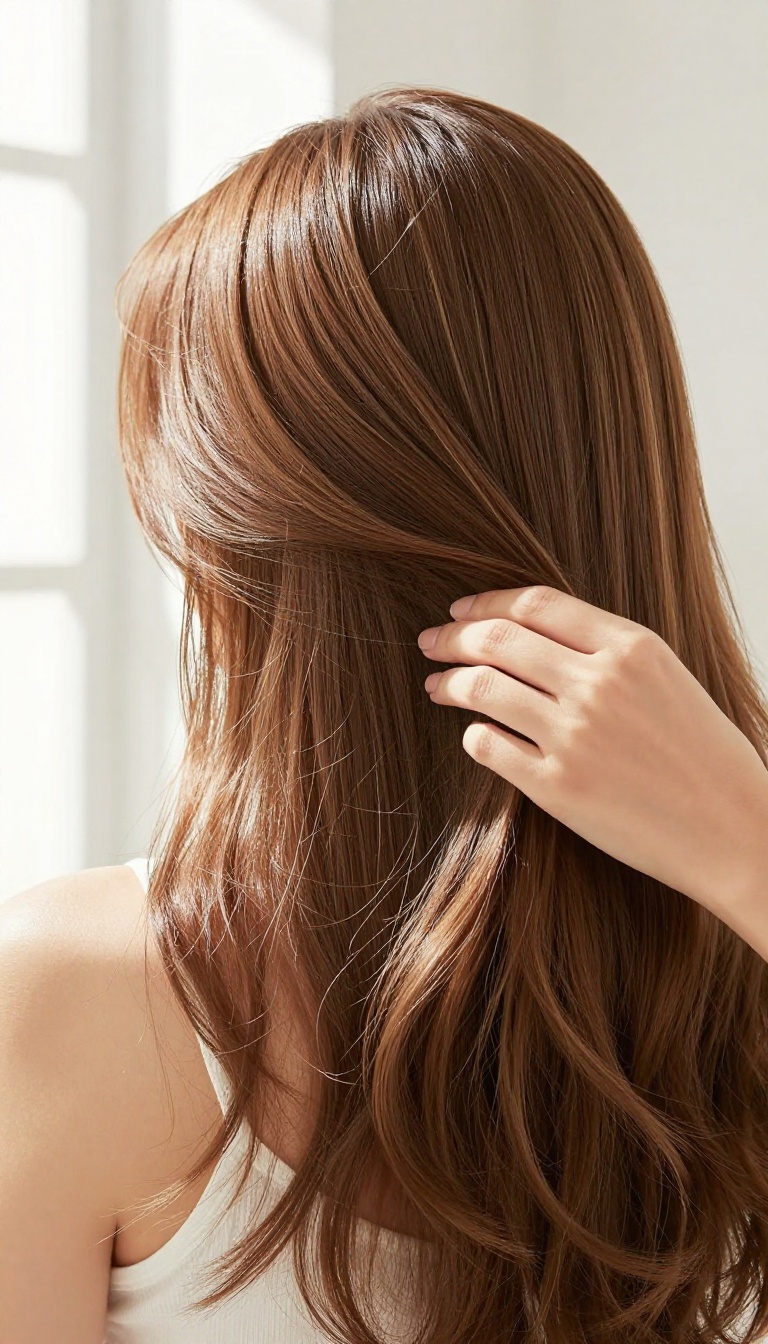
Chemical treatments can work wonders in the moment, but they often come with a hidden cost. Bleaching, perming, and relaxing alter the hair's structure, which can leave it weaker and more prone to breakage over time. If you've been hitting the salon chair frequently, your strands might be sending an SOS.
Giving your hair a break doesn't mean giving up your style—it just means being smarter about how often you treat it. Think of it as a reset button for your hair's health. The less you expose it to harsh chemicals, the more time it has to recover and strengthen.
Chemical processes break down the protein bonds in your hair to change its color or texture. While the results can be stunning, the damage is cumulative. Each treatment weakens the hair shaft, making it more porous and prone to frizz, split ends, and breakage.
Over time, this can lead to thinning and a dull appearance. By limiting these treatments, you give your hair a chance to rebuild its natural strength. This doesn't mean you can never color or perm again—it just means spacing out appointments and giving your hair time to recover between sessions.
Space Out Your Services
Instead of booking a bleach or perm every few weeks, try stretching the time between treatments. For example, if you usually touch up your roots every four weeks, try waiting six or eight weeks. This gives your hair a longer recovery period and reduces cumulative damage.
If you're worried about regrowth, consider a root-shadowing technique that blends new growth with older color, so you can wait longer between full treatments.
Opt For Gentler Alternatives
When you do decide to treat your hair, look for less damaging options. For color, semi-permanent or demi-permanent dyes are gentler than permanent ones because they don't lift the cuticle as much. If you're thinking about straightening, consider a keratin treatment that smooths the hair without altering its structure as aggressively as a relaxer.
These alternatives can give you the look you want with less long-term harm.
20. Try a Leave-In Conditioner
If your hair still feels thirsty even after conditioning, a leave-in conditioner might be the missing step. Unlike rinse-out formulas, it stays on your strands, offering a longer-lasting dose of moisture and protection. It's a simple addition that can make a big difference, especially for dry or damaged hair.
Leave-in conditioners work by coating the hair shaft with hydrating ingredients and smoothing agents. This helps lock in moisture, reduce friction, and shield strands from heat and environmental damage. They also make detangling easier, which means less breakage when you brush or comb.
How To Apply It Right
Apply leave-in conditioner to damp, towel-dried hair. Focus on the mid-lengths and ends, where hair is oldest and most prone to dryness. Use a quarter-sized amount for medium-length hair, adjusting as needed.
Comb through with a wide-tooth comb to distribute evenly and avoid product buildup.
Choosing The Best Formula
Look for lightweight, water-based formulas if you have fine hair, and richer creams or oils for thick or curly textures. Ingredients like glycerin, aloe vera, and argan oil are great for hydration. Avoid heavy silicones if they weigh your hair down.
Test a small amount first to see how your hair responds.
When To Use It
Use it every time you wash for consistent moisture, or as needed on days when your hair feels dry. You can also use a tiny bit on dry ends to tame frizz between washes. Just don't overdo it—too much can make hair look greasy or limp.
21. Oil Your Ends
Your ends are the oldest part of your hair, so they need extra love. A lightweight oil can seal in moisture, smooth frizz, and protect against split ends. It's a simple step that makes a big difference.
Pick The Right Oil
Not all oils are created equal. Argan, jojoba, and grapeseed oils are lightweight and won't weigh hair down. Avoid heavy oils like coconut if you have fine hair, as they can be too much.
How To Apply
Warm a few drops between your palms, then gently press or run them through the last few inches of your hair. Focus on the ends, not the roots, to avoid greasiness. Do this on damp hair after washing or on dry hair for a quick refresh.
When To Use
Use oil daily if your hair is very dry, or a few times a week as a preventative measure. It's also a great finishing touch after styling to add shine and tame flyaways.
22. Be Gentle When Wet
Wet hair is at its most fragile state—the water weakens the protein bonds, making strands stretchy and prone to snapping. That's why aggressive brushing right after a shower is a recipe for breakage and split ends. Instead, treat your wet hair like delicate lace: handle it with care and patience.
Grab a wide-tooth comb and start detangling from the very ends, working in small sections. Slowly glide the comb upward, using your other hand to hold the hair above to reduce tension. This method prevents pulling on the roots and minimizes damage.
Why Wet Hair Is Fragile
When hair is wet, the cuticle lifts and the cortex swells, making it more elastic and weaker. Brushing with a fine-tooth comb or a brush with ball-tipped bristles can cause the strands to stretch and snap. Even gentle tugging can lead to micro-tears that show up as frizz and breakage later.
The Right Tools
Invest in a wide-tooth comb made of plastic, wood, or seamless materials—avoid metal or sharp-edged combs. If you prefer a brush, look for one with flexible, widely spaced bristles designed for wet hair. Also, consider applying a leave-in conditioner or detangling spray before combing to add slip and reduce friction.
The Technique
Start from the bottom, gently working out tangles before moving higher. Never yank or pull through knots; instead, hold the section above the tangle to stabilize it. Work in small sections, and be patient.
If you hit a stubborn knot, apply more product or use your fingers to gently separate it before combing.
23. Embrace Your Natural Texture

Chasing that perfect blowout every single day is exhausting—and your strands are paying the price. Constant heat and harsh styling products strip away moisture, leaving hair brittle and prone to breakage. But here's the thing: your natural texture is not your enemy.
Learning to work with it instead of against it can be the most freeing (and healthiest) decision you make for your hair. When you stop fighting your waves, curls, or coils, you cut way back on heat damage and chemical overload. Plus, there's a major confidence boost that comes from rocking what you've got naturally.
It's not about giving up—it's about giving your hair a break and letting its true personality shine.
Embracing your natural texture starts with understanding what your hair actually needs. That might mean swapping your flat iron for a diffuser or ditching the daily blowout in favor of air-drying. The payoff is huge: less damage, less frizz, and a healthier scalp.
And let's be real—natural texture has a charm that styled hair just can't replicate. It's unique, it's you, and it looks effortlessly beautiful once you learn to care for it properly.
Learn Your Hair's Porosity
Porosity determines how well your hair absorbs and retains moisture. High porosity hair soaks up water quickly but loses it fast, while low porosity hair repels moisture and needs lighter products. A simple float test can help you figure out your hair's porosity.
Once you know, you can pick the right conditioners and styling products to keep your natural texture hydrated and defined.
Ditch The Heat, Not The Style
Heat styling is the quickest way to damage your hair, but you don't have to give up on looking polished. Try heatless styling methods like braiding, twisting, or using flexi rods to encourage your natural waves or curls. If you must use heat, always apply a heat protectant and keep the temperature low.
Your hair will thank you with fewer split ends and a healthier shine.
Use The Right Tools And Products
The right tools make all the difference when working with natural texture. A wide-tooth comb for detangling, a microfiber towel to reduce frizz, and a diffuser for curls are game-changers. Also, swap out harsh sulfates and silicones for gentle, moisturizing formulas that enhance your natural pattern.
Look for products labeled 'curl-friendly' or 'texture-enhancing' to give your hair the love it deserves.
Give Your Hair Time To Adjust
If you've been heat-styling for years, your hair might need a transition period. The first few weeks of going natural can feel awkward as your texture adjusts. Be patient and keep your routine consistent.
Deep condition weekly, trim regularly to get rid of damaged ends, and let your hair do its thing. Soon, you'll see your natural pattern emerge stronger and more beautiful than ever.
FAQ
How often should I wash my hair for optimal health?
It depends on your hair type, but generally 2-3 times a week is ideal. Overwashing strips natural oils, while underwashing can lead to buildup. Find a balance that works for you.
Can I repair split ends without a trim?
No, split ends cannot be truly repaired; the only way to get rid of them is to cut them off. Regular trims prevent them from traveling up the hair shaft.
What's the best way to dry my hair to avoid damage?
Pat your hair gently with a microfiber towel or an old t-shirt to remove excess water. Avoid rubbing, and let it air-dry whenever possible.
How can I add more volume to my hair?
Try using a volumizing shampoo and conditioner, blow-dry your hair upside down, and avoid heavy products that weigh hair down. A root-lifting spray can also help.
What foods are best for hair growth?
Foods rich in protein, iron, and vitamins like biotin, vitamin C, and omega-3 fatty acids are great. Think eggs, salmon, nuts, leafy greens, and citrus fruits.
Conclusion
Healthy hair isn't about a single miracle product—it's the small, consistent choices that add up. Start with just a couple of these tips that feel doable, and build from there. You'll likely notice softer, shinier strands within a few weeks.
The real glow up happens when you stop chasing perfection and focus on what makes your hair feel good. Pick your favorites, stay consistent, and let your natural texture shine through.