An everything shower isn't just about getting clean—it's a full-body reset that leaves you feeling renewed from head to toe. But without a solid plan, you might miss key steps that make the experience truly transformative.
Whether you're winding down after a long week or prepping for a fresh start, this 17-step routine covers every detail for maximum relaxation and results. From pre-shower prep to the final cool rinse, each step is designed to elevate your ritual.
Ready to turn your shower into a sanctuary? Let's dive in.
1. Set the Mood with Lighting and Sound
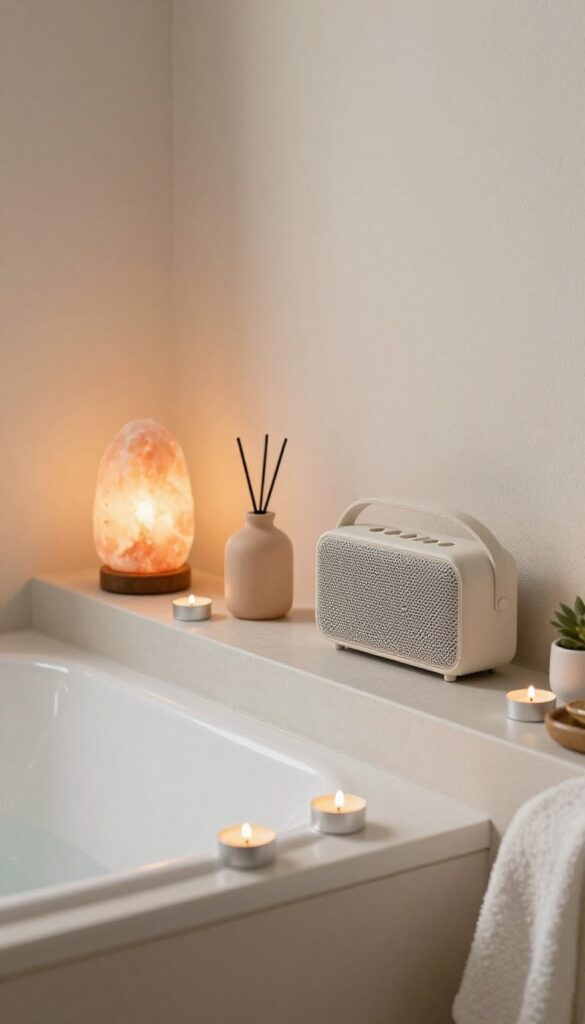
You might think the shower is all about water and soap, but the environment you create beforehand sets the tone for the entire reset. Dimming the lights or adding a soft glow can instantly signal your brain that it's time to unwind. Pair that with the right audio—whether it's calming music, a guided meditation, or an engaging podcast—and you've built a sensory cocoon that makes every step feel more intentional.
Before you even turn on the water, take a minute to adjust the lighting. If your bathroom has a dimmer switch, bring it down to a warm, low level. No dimmer?
A small candle or a salt lamp on the counter works wonders. Then, grab a waterproof Bluetooth speaker and queue up something that matches your mood—think lo-fi beats, nature sounds, or an audiobook you've been saving. The goal is to create a space that feels less like a bathroom and more like a personal spa.
Choose Your Lighting Wisely
Bright overhead lights can be jarring. Instead, rely on ambient sources: a few tea lights on the edge of the tub, a Himalayan salt lamp, or even a string of warm fairy lights draped over the mirror. If you have a window, let in the last bit of natural light if it's daytime.
The softer the light, the quicker your mind shifts into relaxation mode.
Curate Your Soundtrack
Sound is a powerful mood shaper. For a total reset, avoid anything with loud commercials or jarring transitions. Create a playlist in advance—instrumental tracks, rain sounds, or a podcast episode you've been meaning to listen to.
Keep the volume low enough that it blends into the background, not dominates the room. The water will add its own white noise, so the two layers together feel immersive without being overwhelming.
Prep Your Tech
Make sure your speaker is fully charged and placed safely away from direct water spray. If you're using a phone for audio, set it on a shelf or in a dry caddy. And don't forget to turn on Do Not Disturb—notifications can break the spell instantly.
A little prep here means you can fully sink into the experience without interruptions.
2. Dry Brush Before You Step In
Before the water even hits your skin, grab a dry brush. This pre-shower step wakes up your body and preps your skin for everything that follows. It takes just two minutes, but the payoff—smoother skin, better circulation, and a gentle energy boost—sets the tone for the whole reset.
Dry brushing exfoliates dead skin cells, stimulates blood flow, and encourages lymphatic drainage, which helps your body flush out toxins. Doing it on dry skin before the shower means you can rinse away the flakes right after, leaving your skin silky and ready for moisturizer.
Choose The Right Brush
Look for a brush with natural bristles—not too stiff, not too soft—and a long handle so you can reach your back. A brush with a removable head is easier to clean and lasts longer.
Brush In The Right Direction
Always brush toward your heart. Start at your feet and move upward in long, gentle strokes. On your stomach and armpits, use circular motions to encourage lymph flow.
Avoid sensitive areas and broken skin.
Don't Overdo It
Once a day is plenty, and two to three times a week is enough for most people. Brushing too hard or too often can irritate your skin. Keep it gentle—you want a tingling sensation, not redness.
3. Start with a Warm Rinse, Not Hot
It's tempting to crank the water to scalding, especially after a stressful day. But hot water strips your skin of natural oils, leaving it dry and irritated. A warm rinse is the sweet spot: it opens pores and relaxes muscles without damaging your moisture barrier.
Before lathering up, let the warm water run over your body for a minute. This preps your skin for cleansing and helps you ease into the routine. Keep the temperature comfortable—if it feels too hot, dial it back.
Your skin will thank you later.
Why Warm Beats Hot
Hot water dissolves the lipid barrier that keeps moisture locked in. Over time, this leads to dryness, flakiness, and even eczema flare-ups. Warm water, on the other hand, gently opens pores so dirt and oil can be washed away without stripping your skin.
How To Get The Temperature Right
Aim for water that feels slightly warmer than your body temperature—around 98–104°F (37–40°C). Test it on your wrist first. If it makes your skin turn red quickly, it's too hot.
Adjust gradually until it feels soothing, not shocking.
Bonus: Steam Without The Burn
Warm water still creates enough steam to open up your sinuses and relax your muscles. Add a few drops of eucalyptus or lavender essential oil to the shower floor for an aromatherapy boost. Just keep the water warm, not hot, to avoid irritation.
4. Double Cleanse Your Hair
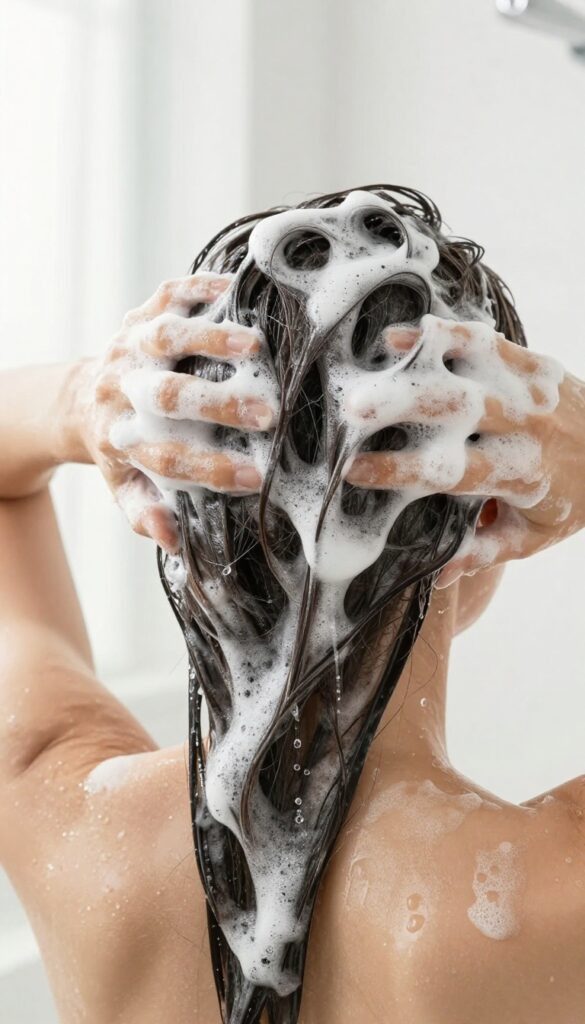
You've likely heard of double cleansing your face, but your scalp deserves the same two-step love. The first wash strips away product buildup, excess oil, and environmental grime, while the second wash delivers a deep, satisfying cleanse that leaves your hair feeling weightless and renewed. Think of it as hitting the reset button for your strands.
Start by wetting your hair thoroughly and applying a clarifying or gentle shampoo to your scalp. Massage it in with your fingertips—not your nails—to loosen dirt and residue. Rinse completely.
Then, go in with a second wash using a nourishing or moisturizing shampoo, focusing on the roots and working through the ends. This two-step process ensures your scalp is truly clean and your hair is prepped for conditioning.
Why Two Washes Matter
One wash rarely removes all the silicone, dry shampoo, and natural oils that accumulate over days. The first pass breaks down that layer, and the second actually cleanses the scalp. You'll notice your shampoo lathers much better the second time—that's how you know it's working.
Focus On The Scalp
Your scalp is skin, and it needs attention. Use your fingertips to massage in circular motions, stimulating blood flow and loosening flakes or buildup. Don't just pile your hair on top of your head—section it if needed to reach every part of your scalp.
5. Use a Scalp Scrub for Deep Cleanse
Your scalp deserves the same exfoliating love as your face. Product buildup, dead skin, and excess oil can clog hair follicles and leave your hair looking flat. A gentle scalp scrub clears away that gunk while boosting circulation for healthier growth.
Why Exfoliate Your Scalp?
Just like your skin, your scalp sheds dead cells. When they mix with styling products and sebum, they can cause itchiness, flakes, and even hair thinning. Exfoliating once a week removes that layer, letting your hair breathe and grow stronger.
How To Apply A Scalp Scrub
Start with wet hair. Take a small amount of scrub and part your hair into sections. Use your fingertips—not nails—to massage in small, circular motions.
Focus on the crown and hairline where buildup hides. Spend 2–3 minutes working it in.
Best Ingredients To Look For
Look for scrubs with fine granules like jojoba beads or sea salt—avoid harsh walnut shells that can tear your scalp. Ingredients like tea tree oil, salicylic acid, or charcoal add antibacterial benefits. For sensitive scalps, choose a sugar-based formula.
Follow Up With A Hydrating Shampoo
After scrubbing, rinse thoroughly and follow with a moisturizing shampoo. Exfoliating can strip natural oils, so a hydrating wash rebalances your scalp. Finish with conditioner only on your ends to keep your roots fresh and voluminous.
6. Apply a Hair Mask While You Shower
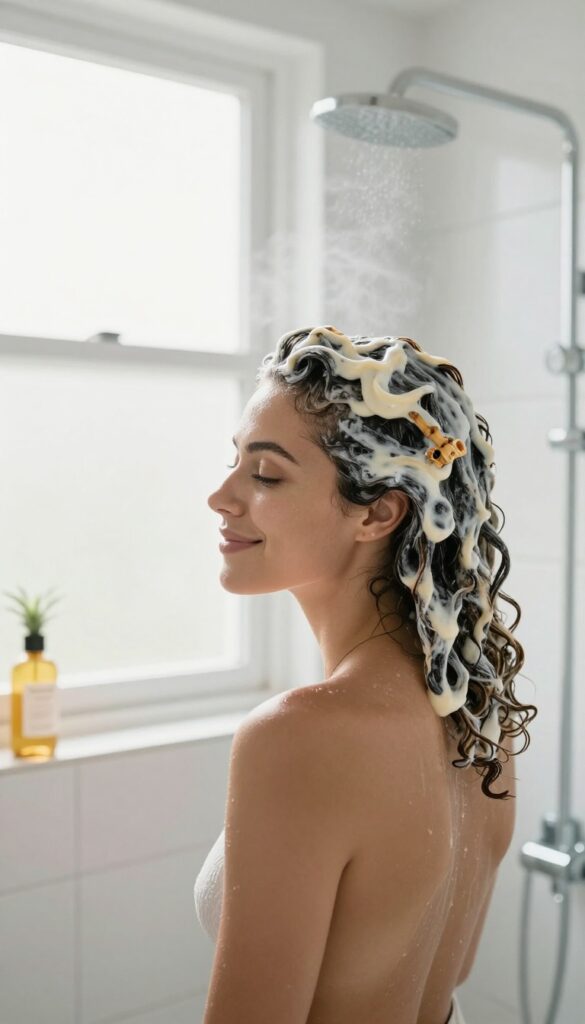
Your hair works hard all week, so it deserves a little extra TLC during your everything shower. A hair mask is the perfect multitasker: you apply it, let it sink in while you scrub and shave, then rinse it out at the end. This way, you get deep conditioning without adding extra time to your routine.
Choose The Right Mask For Your Hair Type
Not all hair masks are created equal. If your hair is fine and prone to greasiness, go for a lightweight formula with ingredients like aloe vera or hyaluronic acid. For thick, curly, or damaged hair, look for shea butter, argan oil, or keratin.
The key is to match the mask to your hair's current needs.
Apply After Shampooing, Before Conditioning
The ideal order is shampoo first to remove buildup, then squeeze out excess water and apply the mask from mid-lengths to ends. Avoid the scalp unless the mask is specifically designed for it. Once it's on, clip your hair up and let the steam in your shower help the ingredients penetrate.
Let It Sit For At Least 5 Minutes
While the mask works its magic, move on to the rest of your routine—exfoliate, shave, or just enjoy the warmth. Aim for 5–10 minutes of soak time. If you're short on time, even 3 minutes makes a difference.
Rinse thoroughly with cool water to seal the cuticles and boost shine.
7. Exfoliate Your Body with a Scrub or Mitt
After you've soaked and softened, it's time to slough off the dead skin that's been hanging around. This step is what gives you that baby-soft glow and helps prevent bumps and dryness. A good scrub or mitt makes all the difference.
Grab a sugar or salt scrub, or a gentle exfoliating mitt, and work in circular motions from your feet upward. Focus on rough patches like elbows, knees, and heels—they tend to accumulate the most dead skin. Rinse thoroughly and feel how smooth your skin becomes.
Why Exfoliation Matters
Exfoliating unclogs pores, smooths rough texture, and helps your moisturizer absorb better. It also boosts circulation, giving your skin a healthy, natural glow. Do this once or twice a week for best results.
Scrub Vs. Mitt: Which To Choose?
A sugar scrub is great for gentle physical exfoliation with added oils for moisture. An exfoliating mitt (like a Korean Italy towel) offers deeper, more thorough exfoliation, especially for tough areas. Use a mitt in the shower with just water, then follow with a scrub if you want extra luxury.
Don't Forget Your Feet
Your feet work hard and deserve attention. Use a pumice stone or a foot scrub on heels and calluses. Rinse well and pat dry—they'll be ready for lotion and socks afterward.
8. Shave with a Fresh Razor and Cream
After exfoliating, your skin is primed for the closest, smoothest shave of your life. But using a dull blade or dry shaving can undo all that prep work in seconds. A fresh razor and quality cream make all the difference between silky legs and irritated, bumpy skin.
This step is about treating your skin with the respect it deserves. A little investment in the right tools pays off in comfort and results.
Why A Dull Razor Ruins Everything
A dull blade tugs at hair instead of cutting cleanly, leading to razor burn, ingrown hairs, and nicks. Even if it looks okay, if you've used it more than 5-7 times, it's time to swap it out. Your everything shower deserves a fresh start.
Pick The Right Shave Cream
Skip the dried-out bar soap or foaming gels that strip moisture. Look for a creamy, hydrating formula with ingredients like shea butter, aloe, or coconut oil. Apply it generously and let it sit for a minute to soften hair further.
Master Your Technique
Shave in the direction of hair growth to minimize irritation, especially on sensitive areas like the bikini line or underarms. Rinse your blade after every stroke and use light pressure. For extra smoothness, finish with a cool water rinse to close pores.
9. Wash Your Face Last
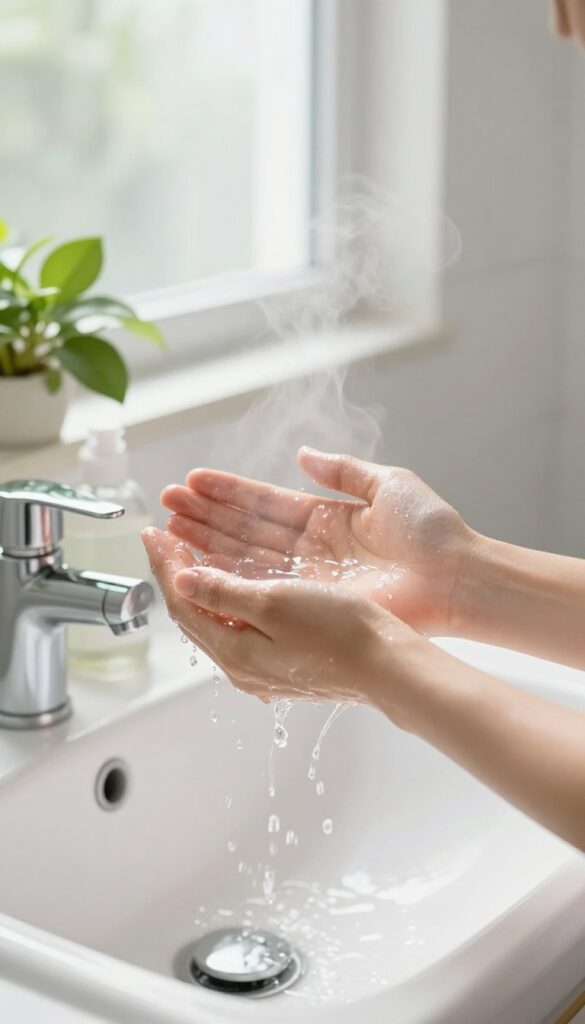
Steam has been working its magic on your pores while you tackled everything else. Now it's time for the grand finale: a gentle face wash that leaves your skin clean but not stripped. Washing your face last ensures you remove any residue from hair products or body scrubs that may have migrated south.
By saving your face for the end, you let the steam open pores and soften debris, making cleansing more effective without harsh scrubbing. Use a gentle, non-foaming cleanser that respects your skin barrier—your face doesn't need the same heavy-duty stuff as your body.
Why Order Matters
If you wash your face first, all those hair masks, conditioners, and body washes will rinse over it, potentially clogging pores or causing irritation. Saving it for last keeps your complexion clear and happy.
The Right Cleanser For The Moment
Pick a creamy or gel cleanser that matches your skin type. Avoid anything too stripping—your face has been steamed and is more receptive, so a gentle formula works best. Massage in circular motions for about 60 seconds, then rinse with lukewarm water.
Pat, Don't Rub
After rinsing, gently pat your face dry with a clean, soft towel. Rubbing can cause micro-tears and irritation, especially after the skin has been softened by steam. Your skin will thank you.
10. Use a Clay or Charcoal Mask for Pores
Your pores have been working overtime, and the steam from your everything shower has them wide open and ready for a deep clean. This is the perfect moment to apply a clay or charcoal mask—it'll draw out impurities and excess oil more effectively than when your skin is dry. A good mask targets congestion without stripping your skin.
The heat and humidity help the ingredients penetrate deeper, so you get maximum benefits in just a few minutes. Plus, it feels like a mini spa treatment while you finish up your shower.
While the shower's steam is still billowing, apply a clay or charcoal mask to your T-zone or entire face. Focus on areas where you tend to get blackheads or shine. Let it sit for 5–10 minutes—just enough time to finish washing your body or shaving.
Rinse off with warm water, then follow with your usual toner and moisturizer once you're out. Don't overdo it: once a week is plenty for most skin types. If you have dry or sensitive skin, stick to a gentle clay mask and avoid letting it dry completely.
Why Steam Makes Masks Work Better
Steam softens the sebum and debris inside your pores, so the mask can pull it out more easily. It also increases blood flow to your skin, giving you a healthy glow post-shower. Just don't leave the mask on too long—when it dries completely, it can start absorbing moisture from your skin instead of just oil.
Best Masks For Different Skin Types
Oily or acne-prone skin? Go for a charcoal or kaolin clay mask—they're excellent at sucking up excess oil. Dry or sensitive?
Look for a gentler option like bentonite clay mixed with aloe or a cream-based charcoal mask. Combination skin can benefit from a multi-mask approach: clay on the T-zone, hydrating mask on cheeks.
How To Apply For Even Coverage
Use a clean brush or your fingertips to spread a thin, even layer. Avoid the eye area and lips. Start from the center of your face and work outward.
If you're using a mask that dries, set a timer—you don't want it to crack or feel tight. Rinse with lukewarm water and pat dry.
11. Rinse with Cool Water to Seal Everything
That final blast of cool water might feel like a shock, but it's the secret to locking in all the work you just did. A quick cool rinse closes pores, adds shine to hair, and gives you a jolt of energy. Start from your feet and work your way up for the best results.
Why Cold Water Works
Cool water constricts blood vessels, which helps reduce puffiness and gives skin a firmer appearance. For hair, it flattens the cuticles, making strands reflect light better and look glossier. It's like hitting the reset button on your whole body.
The Right Technique
Don't just stand there—start at your feet and gradually move the water upward. This helps your circulation adjust and prevents that sudden cold shock. Spend about 30 seconds total, moving the nozzle or your body to cover all areas.
Extra Benefits You'll Notice
Besides the beauty perks, a cool rinse wakes up your nervous system and boosts alertness. It can also help soothe sore muscles after a long week. Think of it as a mini cryotherapy session without the price tag.
12. Pat Dry, Don't Rub
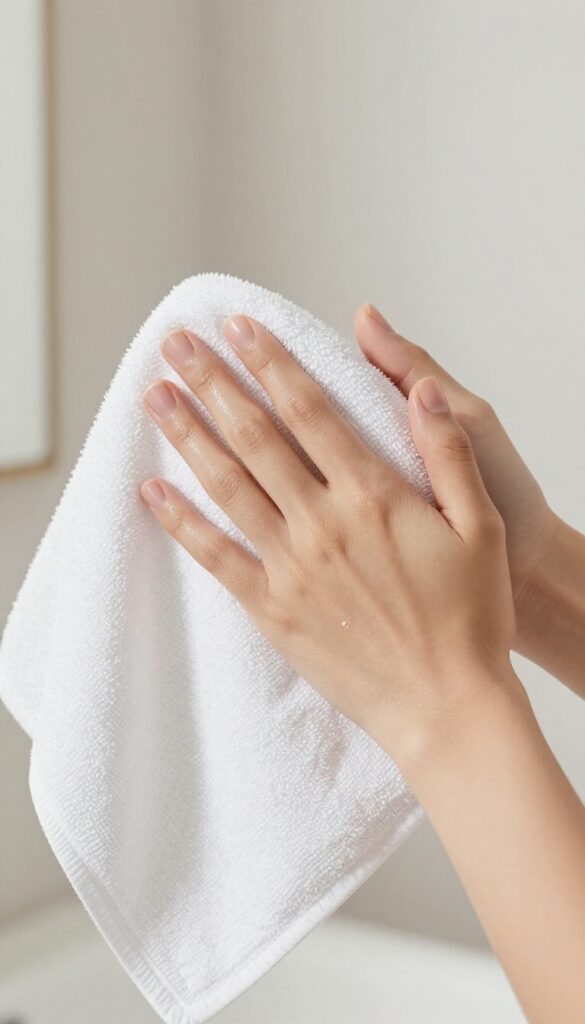
You've just stepped out of the shower, skin soft and clean. It's tempting to grab a towel and rub down fast, but that rough motion can undo a lot of your hard work. Rubbing creates friction, which irritates the skin and roughs up hair cuticles, leading to frizz and dryness.
Instead, grab a soft, clean towel and gently pat your skin dry. This simple switch helps lock in the moisture from your shower products, keeping your skin hydrated and your hair smooth. Patting is especially important after exfoliating or shaving, when your skin is more sensitive.
Why Rubbing Is A No-go
When you rub vigorously, you strip away natural oils and disturb the skin barrier. For hair, rubbing creates friction that lifts the cuticle, causing frizz and breakage. It's a small habit that makes a big difference.
The Right Way To Pat
Use a microfiber towel or a soft cotton one. Start with your face, then move down your body, pressing gently to absorb water. For hair, squeeze out excess water instead of wringing or twisting.
Don't Forget Your Feet
Moisture between toes can lead to fungus. Pat your feet dry thoroughly, especially between toes, before slipping into socks or slippers.
13. Apply Body Oil While Still Damp
You've just stepped out of the shower, skin soft and clean. Before you reach for a towel, grab your body oil instead. Applying it while your skin is still damp locks in moisture and gives you that lit-from-within glow that lasts all day.
Body oil on damp skin seals in hydration better than on dry skin. The water helps the oil spread evenly, so you use less product and get more coverage. Focus on dry areas like legs, arms, and elbows for a lasting glow that feels silky, not greasy.
Why Damp Skin Works Best
When skin is damp, it's still porous and ready to absorb moisture. Applying oil right after patting dry (not rubbing) traps water molecules under the oil barrier, keeping your skin hydrated longer. This technique is especially helpful in winter or dry climates.
How To Apply Without The Mess
Pump a small amount of oil into your palms and rub them together. Start from your legs and work upward, using long, gentle strokes. For your back, twist a towel or use a long-handled applicator.
Let the oil sink in for a minute before getting dressed.
Best Oils For A Non-greasy Finish
Look for lightweight oils like jojoba, grapeseed, or squalane. They absorb quickly and won't leave you feeling slippery. Avoid heavy mineral oils if you're prone to breakouts.
A few drops of vitamin E oil can also boost skin repair.
14. Use a Leave-In Conditioner or Hair Oil

Your hair has been through a lot during this everything shower—shampoo, maybe a mask, and plenty of steam. Now it's time to lock in moisture and protect those strands. A leave-in conditioner or a few drops of hair oil on damp ends can make all the difference between hair that feels okay and hair that feels amazing.
Why Damp Hair Matters
Applying product to damp (not wet) hair helps seal the cuticle and lock in hydration. When hair is dripping, the product slides off and doesn't absorb well. Gently squeeze out excess water with a microfiber towel first, then apply your leave-in or oil.
Focus On The Ends
The ends are the oldest, most fragile part of your hair. Concentrate your leave-in conditioner or oil there, working upward if your hair is fine. This prevents breakage, split ends, and that dried-out look.
A little goes a long way—start with a pea-sized amount.
Choose The Right Formula
For fine hair, a lightweight spray leave-in works best. Thicker, coarser hair can handle a cream or a richer oil like argan or jojoba. If you have curly or textured hair, look for a leave-in with slip to help with detangling and definition.
15. Moisturize Your Face Immediately
The clock is ticking the moment you step out of the shower. Your skin is still damp and full of absorbed water—that's your window to seal it all in. Waiting even a few minutes lets that hydration evaporate, leaving your face drier than before.
Grab your moisturizer or serum and apply it within three minutes for the best results.
Why Timing Matters
When your skin is damp, its barrier is more permeable, allowing ingredients to sink in deeper. As it dries, that window closes. Applying moisturizer quickly locks in the water and prevents transepidermal water loss, keeping your skin plump and hydrated for hours.
Choose The Right Product
For post-shower, a lightweight gel or a hydrating serum with hyaluronic acid works wonders. If your skin is dry, opt for a richer cream. The key is to have it ready by the sink so you don't have to hunt for it while dripping.
Apply In Layers
Start with a serum on damp skin, then follow with a moisturizer. This sandwich method maximizes hydration. Don't forget your neck and décolletage—they deserve the same treatment.
16. Don't Forget Your Feet
Your feet carry you all day, yet they're often the most neglected part of an everything shower. A little extra care here can make a huge difference in how relaxed you feel afterward. This step is simple but surprisingly effective.
It turns your shower into a full-body experience and leaves your feet feeling pampered and soft.
After you've dried off, take a few extra minutes for your feet. Slather on a rich foot cream—look for one with shea butter or urea for deep moisture—and then pull on a pair of clean cotton socks. The socks lock in the cream, letting it absorb overnight while you sleep.
In the morning, your feet will be noticeably softer, and any rough patches will feel smoother. It's a small effort that pays off big.
Why It Works
Foot creams are thicker than body lotions and designed to penetrate tougher skin. The socks create a warm, occlusive environment that drives the moisturizer deeper. It's the same principle as a face mask—but for your feet.
Best Products To Use
Look for foot creams with ingredients like shea butter, coconut oil, or lanolin. Avoid anything too watery. A good call is O'Keeffe's Healthy Feet or Burt's Bees Coconut Foot Cream.
For socks, any clean cotton pair works—no need for special spa socks.
Pro Tip
If you have extra dry heels, apply a thick layer of cream and then wrap your feet in plastic wrap before putting on socks. It's messy but works wonders. Do this once a week for best results.
17. Finish with a Spritz of Body Mist or Perfume
The final touch to your everything shower is a light spritz of fragrance. It locks in the fresh feeling and adds a personal signature that lingers all day. Choose a scent that matches your mood—calming lavender for winding down, or zesty citrus for an energy boost.
A body mist or perfume on pulse points (wrists, neck, behind ears) completes the ritual. The warmth of your skin helps the scent develop, so apply right after drying off. Go for something light and refreshing—heavy perfumes can clash with the clean, spa-like vibe you've just created.
Pulse Point Application
Spritz on warm areas like wrists, neck, and behind knees. The heat helps the fragrance bloom and last longer. Avoid rubbing—it breaks down the scent molecules.
Scent Layering
Use a matching body lotion or oil beforehand to make the fragrance stick. Unscented moisturizer works too—hydration helps perfume last.
Mood Matching
For relaxation, choose lavender, chamomile, or vanilla. For energy, go with citrus, mint, or green tea. Let your mood guide the choice.
FAQ
How often should I do an everything shower?
Once a week is ideal. It's a longer routine, so save it for a day when you have extra time to unwind.
Can I use a hair mask every time I shower?
It depends on your hair type. Fine hair may get weighed down, so once a week is usually enough. Dry or curly hair can handle more frequent use.
Do I need to dry brush before every shower?
No, 2-3 times a week is plenty. Over-brushing can irritate the skin.
What's the best water temperature for an everything shower?
Start warm, then finish with a cool rinse. Avoid hot water as it dries out skin and hair.
Should I shave at the beginning or end of my shower?
Shave toward the end after your skin has had time to soften from the steam. This gives a closer, smoother shave.
Conclusion
Transforming your shower into a total reset isn't about doing everything at once—it's about finding the few upgrades that make you feel renewed. Start with one or two changes that target your biggest pain points, whether that's a scalp scrubber for buildup or a eucalyptus bundle for aromatherapy. Small shifts in routine can turn a daily chore into a moment of genuine self-care.
Give yourself permission to experiment and see what sticks. Your perfect shower ritual is waiting—just one tweak at a time.