A soft-focus glow doesn't have to mean layers of shimmer or a complicated routine. In fact, the most radiant looks often come from smart prep and a few strategic product choices.
Whether you're after a dewy base or a subtle highlight, these 25 glow makeup ideas are designed to be practical, budget-friendly, and easy to pull off. You'll find tips that work for oily, dry, and combination skin, so you can finally get that lit-from-within look without the grease.
Let's dive into the ideas that will have you glowing in no time.
1. Start with Hydrating Skin Prep
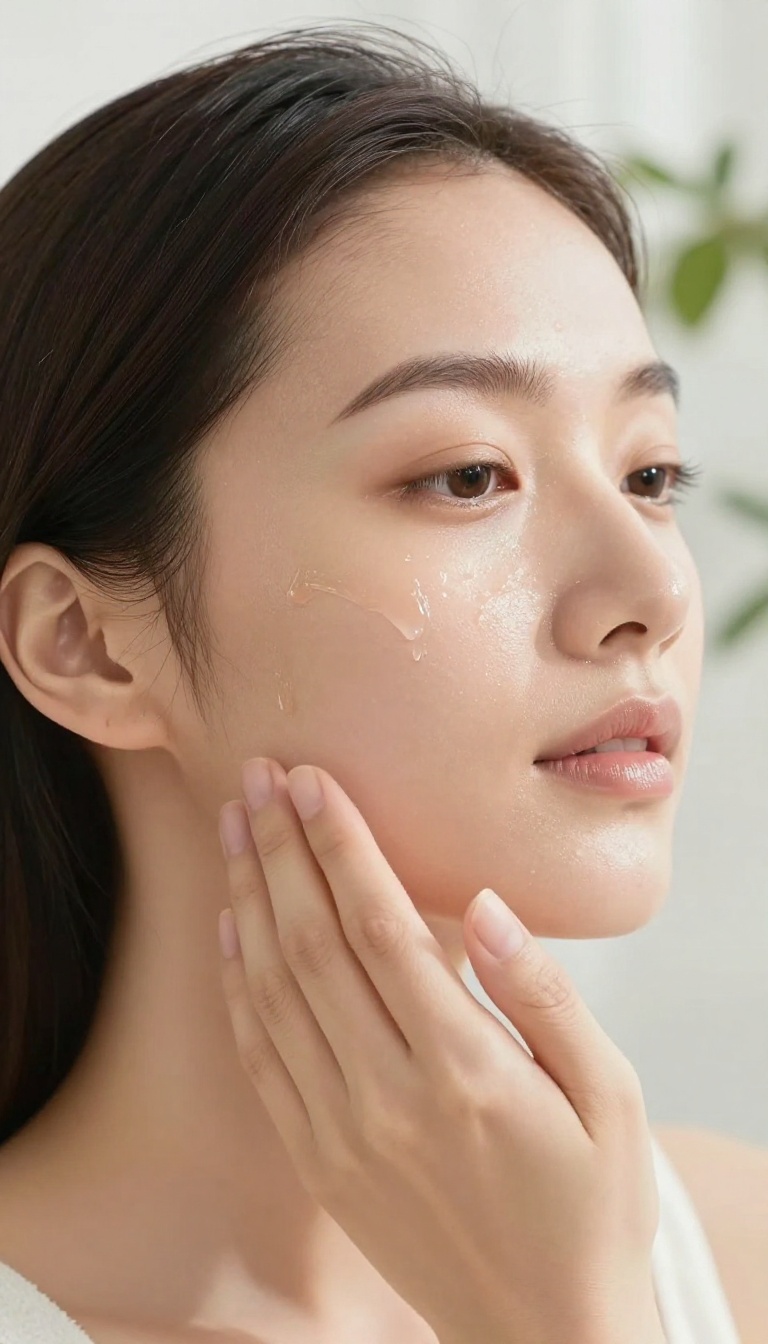
The secret to a believable glow often starts long before you pick up a brush. Your skin needs a smooth, hydrated canvas to reflect light evenly, otherwise makeup can settle into dry patches or slide around. A little prep goes a long way in making that soft-focus finish actually look like skin, not makeup.
Begin by pressing a few drops of a hydrating serum into damp skin. Hyaluronic acid is a great choice because it pulls in moisture and plumps fine lines. Follow up with a light moisturizer to lock everything in, then let it sink in for a minute before moving on.
This gives your base a bouncy, refreshed feel that shows through your foundation.
Why Hydration Matters For Glow
Dehydrated skin looks dull and flaky, which can make even the most luminous foundation look patchy. When your skin is properly hydrated, it reflects light naturally, so you need less highlighter to get that lit-from-within effect. Plus, a moisturized base helps your makeup blend more smoothly and last longer.
The Right Primer For A Dewy Finish
Not all primers are created equal. For a glow, skip matte formulas and reach for a hydrating or illuminating primer. Look for ingredients like glycerin, squalane, or a subtle pearl tint.
Apply it with your fingertips, focusing on the high points of your face—cheekbones, brow bone, and the bridge of your nose—to enhance your natural contours.
2. Use a Damp Beauty Sponge for Foundation
The way you apply your foundation can make or break that soft-focus glow. A damp sponge is a game-changer because it lets you build coverage while keeping the skin's natural luminosity intact. The key is to bounce, not drag, so the product melts into your skin like a second layer.
Dampening your sponge before applying foundation does more than just save product. It adds a hint of moisture to the application process, which helps the formula blend seamlessly and prevents that heavy, mask-like finish. The result is a sheer, skin-like base that lets your natural radiance peek through.
Why Damp Works Better
A dry sponge can soak up more product and leave you with a patchy, uneven layer. When damp, the sponge becomes soft and bouncy, which allows the foundation to sit on top of the skin rather than being absorbed. This technique gives you more control and a more natural finish.
How To Dampen Your Sponge
Run your sponge under warm water until it expands, then squeeze out the excess. You want it to feel damp, not dripping wet. Wrap it in a towel and press to remove any remaining water.
That's the sweet spot for a smooth, streak-free application.
Bounce, Don't Drag
Use a gentle stippling or bouncing motion to press the foundation into your skin. This helps the product blend evenly without disturbing the layers underneath. Avoid swiping or rubbing, as that can lift your base and create streaks.
Focus on small sections, working from the center of your face outward.
3. Mix Liquid Highlighter with Your Foundation
Want an all-over glow without looking like a disco ball? This trick is a game-changer. Just add a drop or two of liquid highlighter to your foundation before applying, and you'll get a soft, lit-from-within finish that works for any skin type.
It's the easiest way to upgrade your base routine.
Mixing liquid highlighter into your foundation is a pro-level technique that's surprisingly simple. It creates a uniform, subtle sheen that looks natural and healthy, rather than a concentrated highlight on specific areas. This method is perfect for anyone who wants a glow that's even and diffused, not patchy or greasy.
Why This Works
Liquid highlighter is designed to reflect light, and when blended into foundation, it disperses those light-reflecting particles evenly across your skin. This softens the appearance of texture and gives your complexion a smooth, radiant finish. It's a great way to add luminosity without the need for multiple products.
How Much To Use
Start with one drop for a natural glow, or two drops for a more noticeable sheen. You can always add more, but it's tricky to take away. Mix it in the palm of your hand or on the back of your hand before applying with a brush, sponge, or fingers.
Best Highlighter Formulas
Stick to liquid or cream highlighters for this trick—powder formulas won't blend as seamlessly. Look for ones with a fine, non-glittery shimmer. If you have oily skin, opt for a gel-based highlighter; if you're dry, a hydrating liquid will work beautifully.
Pro Tips For Different Finishes
If your foundation is matte, this will instantly give it a dewy vibe. If it's already dewy, you'll get a soft-focus glow without looking wet. You can also mix highlighter into your primer for an extra-lit base, or apply it on top of your foundation for a more targeted highlight.
4. Set Only the T-Zone with Powder
Powder can be a glow-killer if you dust it everywhere. The trick is to let your natural shine peek through where it flatters most, while keeping the center of your face matte and fresh. By focusing powder on the T-zone—forehead, nose, and chin—you control oil without flattening the rest of your makeup.
This leaves your cheeks and upper cheeks with a soft, lit-from-within finish that looks like skin, not makeup.
This targeted approach is a game-changer for combination and oily skin types. It keeps your makeup in place where you need it most, while preserving the dewy glow that makes you look awake and healthy. Plus, it’s a quick step that doesn’t require any extra products—just your favorite translucent powder and a small fluffy brush.
Why The T-zone Needs Extra Control
The T-zone naturally produces more oil, which can break down foundation and cause shine to look greasy rather than glowy. By setting only this area, you prevent that midday meltdown without sacrificing the luminous finish elsewhere.
How To Apply Powder Like A Pro
Use a small, fluffy brush and tap off any excess powder. Press it gently onto your forehead, nose, and chin, using a rolling motion. Avoid dragging, which can disturb your base.
A light hand is key—you can always add more if needed.
Choosing The Right Powder
Opt for a translucent or finely-milled powder that won’t add color or texture. Loose powders give a softer finish, while pressed powders are great for touch-ups. If you have dry skin, pick a hydrating formula to avoid cakiness.
5. Apply Cream Blush on the High Points
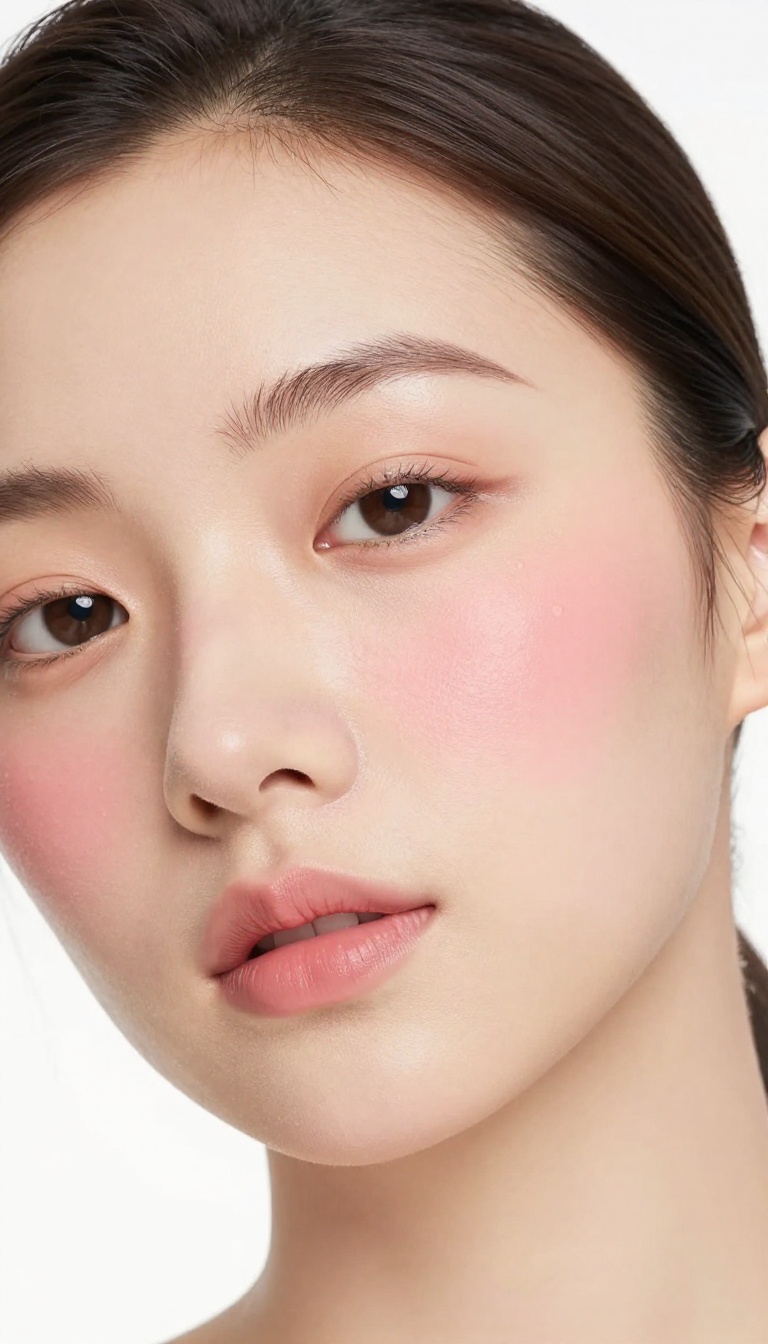
Cream blush is a game-changer for that lit-from-within glow. Unlike powder, it melts into the skin for a natural flush that looks like you just came back from a brisk walk. The trick is placement: instead of swiping it on the apples of your cheeks, focus on the high points of your face where the sun naturally hits.
Start by smiling to find the apples of your cheeks, but don't stop there. Apply the blush slightly higher, blending upward toward your temples. This lifts the face and adds a youthful, radiant pop.
For extra glow, add a tiny dab on the bridge of your nose and your cupid's bow—it ties the whole look together.
Why Cream Beats Powder
Cream blush blends seamlessly into skin, especially when applied over a dewy base. It layers beautifully with liquid highlighter and never looks cakey. Plus, it's forgiving on dry patches, giving you a smooth, hydrated finish.
The Right Way To Blend
Use your fingers or a damp sponge to pat the blush in, not rub. Patting allows the color to melt into the skin without disturbing your foundation. For a diffused effect, blend the edges with a stippling brush.
Pair It With A Glow
Top the blush with a cream or liquid highlighter on the cheekbones for an extra luminous finish. Choose a highlighter with a similar undertone—peachy blush goes with gold, while rosy shades pair well with pink-toned highlights.
6. Layer a Powder Highlighter Over Cream
If you love a strong glow that actually lasts all day, this two-step trick is about to become your go-to. Cream highlighter gives that lit-from-within dewiness, but it can fade or slip by midday. Powder highlighter sets everything in place, but on its own, it can look dry or flat.
Together, they create a finish that's both intense and smooth.
Start by applying a cream highlighter to the high points of your face—cheekbones, brow bones, bridge of the nose, and cupid's bow. Blend it out with your fingers or a damp sponge for a natural base. Then, take a fluffy brush and dust a matching powder highlighter over the same areas.
The powder locks in the cream and amps up the shine without any chunky glitter. Choose shades that are close in tone—if your cream is champagne, go for a champagne powder. This prevents a muddy or patchy look.
For oily skin, keep the cream light and focus the powder on the highest points. For dry skin, make sure your base is hydrated so the cream doesn't cling to dry patches.
Why The Combo Works
Cream highlighter melts into the skin for a natural, dewy base. Powder highlighter adds a reflective finish that grabs light. Together, they give you a glow that's both deep and long-lasting.
The powder also helps the cream stay put, so you won't lose your shine by lunch.
Best Placement Tips
Focus on the high points where light naturally hits. Apply the cream with your ring finger for a soft, controlled application. Then use a small, tapered brush for the powder to keep it precise.
For a subtle look, skip the nose and just do cheekbones and brow bones.
Shade Matching Guide
Match your cream and powder shades closely. If you're fair, go for champagne or pearl tones. Medium skin looks great with rose gold or peach.
Deeper skin can pull off bronze or gold. Test both on your jawline to make sure they blend seamlessly.
7. Use a Highlighting Stick on the Brow Bone
Sometimes the smallest touch makes the biggest difference. A highlighting stick on the brow bone is one of those underrated tricks that instantly lifts your whole face. It’s quick, foolproof, and gives your eyes a fresh, awake look without any heavy shadow work.
The glow here is subtle but effective. It catches the light just under your arch, which draws attention upward and makes your eyes appear more open. Plus, it’s a great way to use up a stick you already own—no need to buy anything new.
This trick works with any highlighting stick, whether it’s creamy, dewy, or even a touch shimmery. The key is placement: you want to hit the highest point of your brow bone, right where the arch is. A couple of swipes there and you’re done.
Blend with your fingertip or a small brush for a seamless finish that doesn’t look stripey. What’s nice is that it pairs well with almost any eye look. On bare lids, it gives a clean, natural glow.
Over eyeshadow, it adds a polished highlight that ties everything together. And if you’re in a rush, it can even double as a quick inner-corner pop.
Where Exactly To Apply
Trace along the entire brow bone, but focus most of the product under the arch. That’s where the light naturally hits. Avoid going too close to the brow hairs—you want to sit just below them, on the skin.
A thin line is enough; you can always build it up if you want more shine.
Best Shades For Your Skin Tone
For fair skin, go with a champagne or pearl shade. Medium skin tones look great with rose gold or soft gold. Deeper skin can pull off bronze or copper tones.
The goal is to match the glow to your natural undertone, not to add a stark contrast.
How To Blend For A Natural Look
After swiping, use your ring finger to pat and blend the edges. This warms up the product and melts it into your skin. If you used a brush, a clean fluffy brush can soften the edges too.
Just avoid rubbing—patting keeps the glow in place.
8. Add a Touch of Glow to the Inner Eye Corner
This tiny trick can completely change how your eyes look. A soft shimmer in the inner corner instantly brightens the whole eye area, making you appear more rested and awake. It's a favorite among makeup artists for good reason—it's quick, easy, and works with any eye color.
The inner corner of the eye is naturally a bit shadowed, so adding a light-reflecting shade there opens up the eyes and creates a subtle lift. You don't need a heavy glitter; a satin or finely milled shimmer in champagne, pearl, or soft gold does the trick. Use your ring finger or a small brush to tap a tiny amount right where the upper and lower lids meet.
Blend slightly toward the center of the lid for a seamless effect.
Pick The Right Shade
Champagne and pearl suit fair to light skin tones, while rose gold and warm gold flatter medium to deep complexions. If you have cool undertones, lean toward silver or icy pink. Avoid chunky glitter—it can look harsh and settle into fine lines.
Apply It Correctly
Less is more. Start with a small amount and build up if needed. Press the product on rather than swiping, which helps it stay in place.
For a more diffused look, use a fluffy brush after applying to soften any edges.
Pair It With The Right Base
This trick works on bare lids or over eyeshadow. If you have oily lids, set the area with a bit of powder first to prevent creasing. For extra staying power, apply a cream shadow or a dampened brush with a powder shadow.
9. Try a Glossy Lid Look
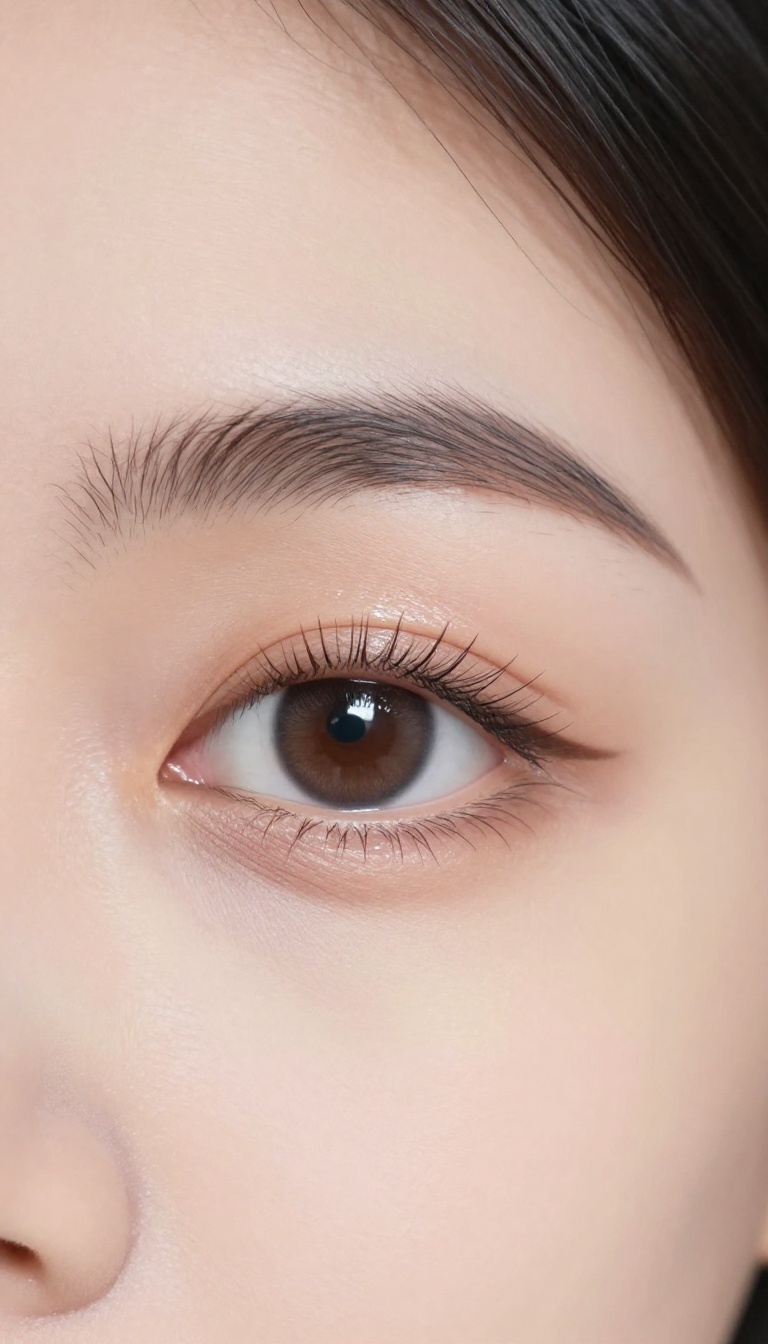
Glossy lids are having a serious moment, and for good reason. They catch the light in a way that powder shadows just can't, giving your eyes an instant, dewy lift. The best part?
You don't need a bunch of fancy products to pull it off. A simple clear or tinted gloss can do the job, and it pairs beautifully with the soft-focus vibe we're going for.
The key to a glossy lid is keeping the rest of your eye makeup minimal. Let the shine be the star. Start with a light layer of concealer or a neutral cream shadow to even out your lid, then pat a small amount of gloss onto the center of the lid with your fingertip or a synthetic brush.
Avoid the inner and outer corners to prevent creasing and keep the look fresh.
Pick The Right Gloss
Not all glosses are created equal for lids. Look for formulas that are non-sticky and free of heavy oils. Clear gloss works for a pure, glass-like effect, while a tinted one (like a soft pink or champagne) can add a subtle wash of color.
Avoid glittery glosses if you want a sophisticated, editorial finish.
Prep Your Lids
A little prep goes a long way. Dust a tiny bit of translucent powder over your lid primer before applying gloss. This gives the gloss something to grip and helps it last longer without creasing.
If you have oily lids, skip the powder and use a mattifying primer instead.
Keep The Rest Simple
Pair glossy lids with a swipe of mascara and a soft brow. Skip heavy eyeliner or dramatic shadows—they'll compete with the shine. A nude lip and a touch of cream blush keep the focus on your eyes and maintain that soft-focus glow throughout.
10. Use a Setting Spray with a Dewy Finish
A setting spray isn't just for keeping makeup in place—it can also be the final touch that brings your whole look together. The right dewy formula adds a subtle, healthy sheen that makes skin look naturally radiant, not shiny. Unlike powders that can dull your glow, a dewy setting spray locks in all your hard work while melting the layers into one seamless finish.
It's the easiest way to get that soft-focus effect without piling on more product.
When you're going for a glow, the last thing you want is a matte finish that flattens your skin. A dewy setting spray does double duty: it sets your makeup so it lasts longer, and it adds a luminous veil that makes your skin look fresh and awake. The key is to choose a formula that's hydrating but not greasy, so you get that lit-from-within look without feeling sticky.
One of the best parts? It works for every skin type. If you're oily, you might think a dewy spray is a no-go, but many formulas are oil-free and still give a soft sheen.
For dry skin, a hydrating mist can be a lifesaver, especially in the colder months. And for combination skin, a quick spritz after makeup can balance everything out.
How To Apply For The Best Effect
Hold the bottle about 8-10 inches from your face and mist in an X and T motion to cover every angle. Then, let it dry naturally—don't fan your face, because that can disturb the makeup and reduce the dewy effect. If you want an extra glow boost, you can layer a few spritzes, but wait a minute between each so it doesn't get too wet.
Choosing The Right Formula
Look for setting sprays with ingredients like glycerin, hyaluronic acid, or aloe vera for hydration. Avoid sprays with alcohol, which can dry out skin and make the glow look patchy. If you have sensitive skin, go for a fragrance-free option.
You can also try a spray with a slight shimmer for a more noticeable glow, but keep it subtle for a natural finish.
When To Use It In Your Routine
The best time to use a dewy setting spray is after you've applied all your makeup, including blush and highlighter. It helps everything meld together and takes down any powderiness. You can also use it before makeup as a primer mist to hydrate and prep your skin, but the main event is the final spritz.
11. Apply Highlighter to the Cupid's Bow
Your cupid's bow is the little dip right above your upper lip, and it's a prime spot for a touch of glow. A tiny dab of highlighter there can make your lips look fuller and add a subtle shine that catches the light when you smile. It's a quick trick that takes seconds but makes a noticeable difference.
This idea is all about precision. You don't need a lot of product—just a small amount on your fingertip or a thin brush. Place it right in the center of your cupid's bow, and blend slightly upward.
The highlight will reflect light, giving the illusion of a plumper pout without any invasive procedures.
Why It Works
The cupid's bow is naturally a high point of your face, so it catches light easily. Adding highlighter enhances that natural reflection, making your lips look more defined and voluminous. It also draws attention to your smile, which is a subtle way to boost your overall glow.
Best Highlighter Shades
For a natural look, choose a highlighter that's one or two shades lighter than your skin tone. Champagne and pearl tones work well for fair to medium skin, while golden or bronze shades suit deeper skin tones. Avoid glittery formulas—stick to a fine, luminous shimmer for a soft-focus effect.
Application Tips
Use a small, angled brush or your ring finger for better control. Press, don't swipe, to avoid moving the product around. If you're worried about looking too shiny, start with a light hand and build up gradually.
You can always add more, but it's harder to take away.
12. Choose a Tinted Moisturizer or BB Cream
Heavy foundation can sometimes mask your natural glow, especially if you're aiming for that soft-focus finish. Tinted moisturizers and BB creams are the perfect middle ground—they even out your skin tone while letting your skin's natural radiance peek through. They're also lighter on the skin, so you'll feel fresh all day.
Swapping your full-coverage foundation for a tinted moisturizer or BB cream is a game-changer when you want a glow that looks effortless. These formulas hydrate your skin while providing just enough coverage to blur imperfections. They're ideal for days when you want a 'your skin but better' look.
Why Tinted Moisturizers Work
Tinted moisturizers are exactly what they sound like—a blend of hydration and a hint of color. They typically have a lightweight, dewy finish that reflects light, giving your skin a natural luminosity. Plus, they're quick to apply with fingers, so you can skip the heavy brushes and sponges.
Bb Creams For Extra Benefits
BB creams (beauty balms) take it a step further by adding skincare benefits like SPF, antioxidants, and sometimes even primer. They offer slightly more coverage than a tinted moisturizer but still feel breathable. If you have combination skin, a BB cream can balance oil while keeping your glow in check.
How To Apply For Maximum Glow
For the most natural finish, warm the product between your fingertips and press it into your skin, starting from the center of your face and blending outward. This technique ensures even coverage without streaks. You can also mix a drop of liquid highlighter into your tinted moisturizer for an extra-lit-from-within effect.
13. Use a Peach or Pink Toned Primer
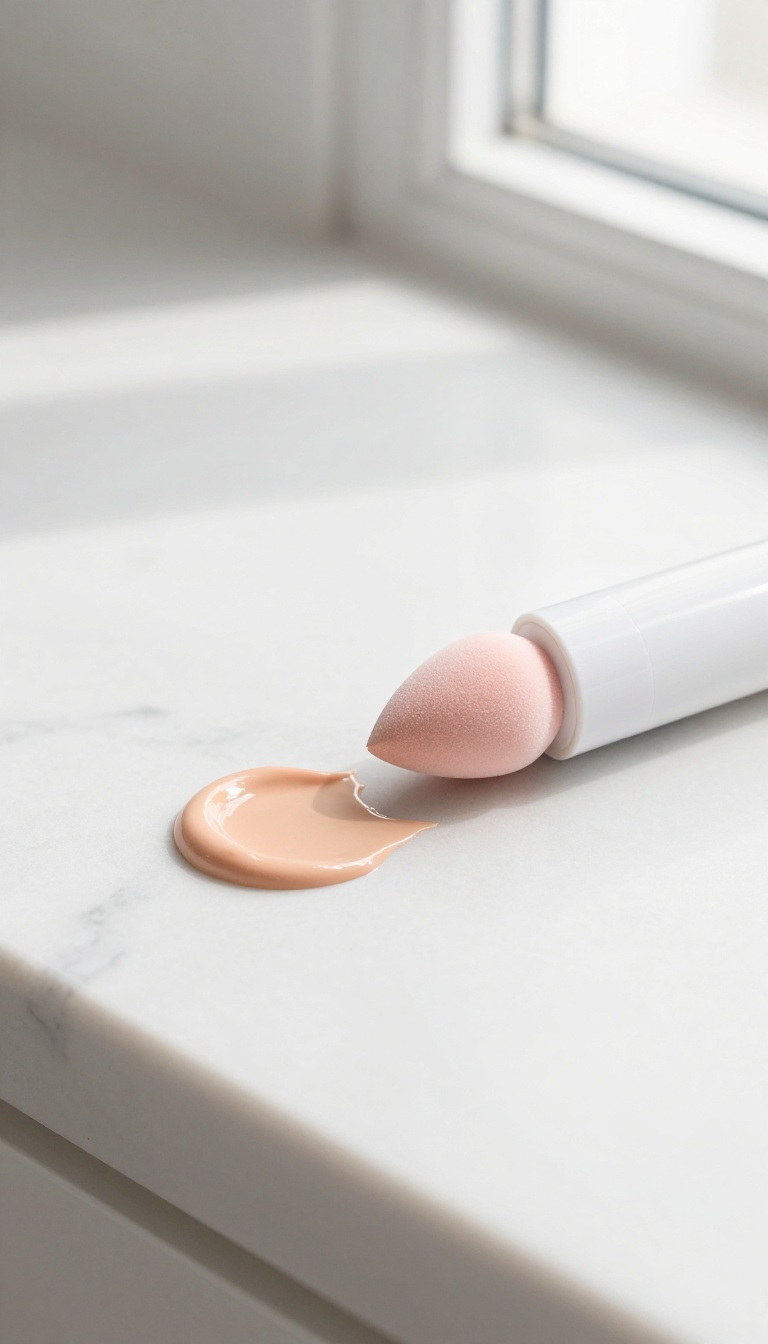
Before you even think about foundation, a color-correcting primer in peach or pink can work wonders. These tones neutralize dullness and add a warm, healthy flush that shows through your makeup. It's like giving your skin a head start on the glow.
Peach and pink primers aren't just for evening out redness—they also brighten the complexion. The key is to apply them where you need it most: the center of your face, cheekbones, and the high points of your forehead. This creates a natural, lit-from-within effect that lasts all day.
Why Peach Vs. Pink?
Peach works best for medium to tan skin tones, canceling out sallowness and adding warmth. Pink is ideal for fair to light skin, giving a fresh, rosy lift. If you're unsure, test both on your jawline and see which one makes your skin look more awake.
How To Apply For Maximum Glow
Use your fingers or a damp sponge to press the primer into your skin. Focus on areas where you want extra radiance, like the tops of your cheeks and down the bridge of your nose. Avoid rubbing—pressing helps the product melt into your skin for a seamless finish.
Pairing With Foundation
You don't need to cover the entire face with primer. Just apply it to the zones that need brightening, then follow with a light-coverage foundation or tinted moisturizer. This way, the glow peeks through without looking greasy.
14. Apply Bronzer Where the Sun Naturally Hits
Bronzer often gets a bad rap as a muddying step, but when you place it correctly, it actually makes your highlighter pop. The trick is to mimic where the sun would naturally warm your face—forehead, cheekbones, and jawline. This adds subtle depth that makes your glow look effortless rather than overdone.
Start with a matte bronzer that's one or two shades deeper than your skin tone. Use a fluffy brush and tap off any excess before applying. Sweep it across the top of your forehead, along the hollows of your cheeks, and down the jawline.
Keep the motion light and blend well to avoid harsh lines. The warmth from the bronzer creates a natural shadow that makes your highlighter appear brighter in contrast.
Pick The Right Bronzer Shade
Choose a bronzer with a neutral or slightly warm undertone that matches your skin's natural tan. Avoid shades with too much orange or red, as they can look unnatural. For fair skin, opt for a light taupe; for medium to deep skin, go with a golden bronze.
Test on your jawline to ensure it blends seamlessly.
Placement Tips For A Natural Glow
Apply bronzer in the shape of a '3' on each side of your face: starting at your forehead, sweeping down to your cheekbone, and ending at your jawline. This classic technique adds warmth where the sun would naturally hit. Keep the product concentrated on the outer edges of your face to avoid a flat, all-over color.
Blend For A Seamless Finish
Use a clean, fluffy brush or a damp sponge to blend the bronzer after application. Buff in circular motions to soften any edges. The goal is a diffused, sun-kissed effect with no visible lines.
If you've applied too much, go over it with a powder brush to lift away excess.
15. Use a Fan Brush for a Subtle Highlighter Sweep
If you've ever dipped a dense brush into your highlighter and ended up with a stripe of shimmer, you know the struggle. A fan brush is the secret to a diffused, lit-from-within glow that looks like your skin, not makeup. Its thin, airy bristles pick up just a whisper of product and lay it down in a soft, even veil—perfect for those days when you want a hint of radiance without going full disco ball.
Fan brushes are a staple in professional kits for good reason. They give you control and precision while keeping the finish natural. Here’s how to get the most out of this simple tool.
Pick The Right Fan Brush
Look for a brush with soft, flexible bristles that are spaced slightly apart. A smaller fan brush (around 1. 5 inches wide) is great for precise areas like the cheekbones and brow bone, while a larger one can dust across the forehead and nose bridge.
Avoid stiff or tightly packed bristles—those will deposit too much product.
Load It Lightly
Swipe the brush gently across your highlighter, then tap it on the back of your hand to knock off any excess. The goal is to have just a hint of color on the bristles. You can always build it up, but it's hard to tone down a heavy application.
Sweep, Don't Press
Hold the brush at a slight angle and sweep it across the high points of your face—cheekbones, brow bone, the bridge of your nose, and your cupid's bow. Use light, feathery strokes. Pressing or rubbing will push the product into your skin and create a patchy effect.
Layer For More Glow
If you want a stronger highlight, let the first layer set for a minute, then add another sweep. This builds a luminous sheen without looking heavy. You can also use the same brush to blend out any harsh edges from other makeup.
16. Try a Glow Boosting Face Mist Before Makeup
A quick spritz before your base can change everything. A hydrating mist preps your skin so foundation doesn't cling to dry patches. It also gives you that fresh, dewy canvas that makes glow makeup look effortless.
Start with a clean face and hold the mist about 8 inches away. Close your eyes and spray evenly, then let it sit for a minute before applying primer. This extra step locks in moisture and helps your makeup melt into the skin instead of sitting on top.
For best results, choose a mist with hyaluronic acid or glycerin. These ingredients attract water and keep your skin plump. Avoid mists with alcohol, as they can dry you out and ruin that soft-focus effect.
Why It Works
Hydrated skin reflects light better than dry skin. A glow mist adds a thin layer of moisture that smooths the surface, so your foundation blends more evenly. It also helps your highlighter and blush stay put longer.
How To Apply
Spritz in a T or X motion to cover your face evenly. Don't spray too close or you'll end up with droplets. Wait 30 seconds until it's tacky, then layer your primer and foundation.
You'll notice a softer, more luminous finish right away.
Pick The Right Mist
Look for a mist that suits your skin type. Oily skin? Go for a mattifying mist with niacinamide.
Dry skin? Choose a rich mist with rose water or squalane. Combination skin?
A balancing mist with green tea works wonders.
17. Use a Lip Tint with a Sheer Shine
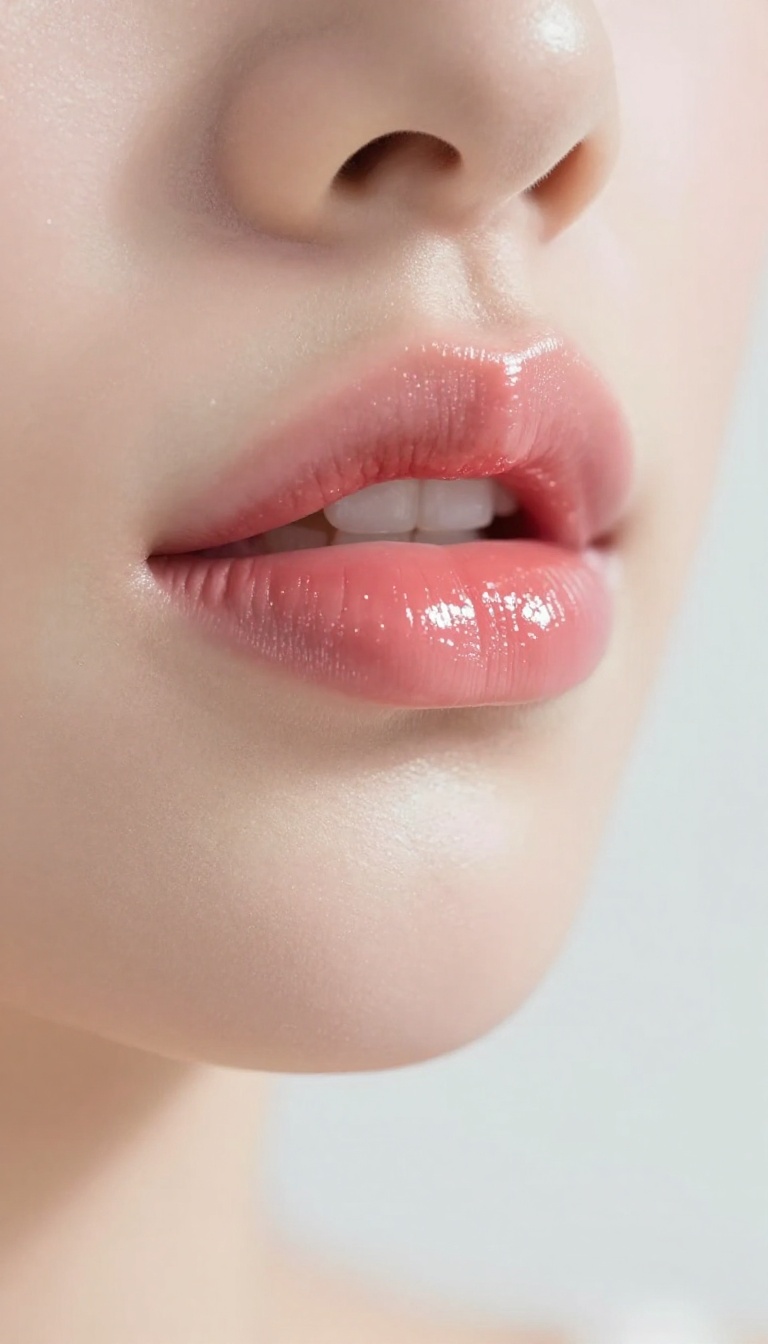
When you're aiming for a soft-focus glow, your lips shouldn't be an afterthought. A matte lipstick can flatten the face, but a lip tint with a sheer shine adds a subtle luminosity that ties the whole look together. It's an easy swap that instantly brightens your smile.
Choosing a lip tint over a heavy lipstick is a game-changer for a natural, dewy vibe. The sheer finish lets your natural lip color peek through, while the shine catches light and gives your face an extra lift. Plus, tints are usually more comfortable to wear and less likely to dry out your lips.
Why Sheer Beats Matte
Matte lips can make your face look flat, especially if you're going for a glow. A sheer tint with a hint of shine reflects light, which helps create that soft-focus effect. It's like adding a mini highlighter right on your pout.
How To Pick The Right Shade
Look for a tint that's close to your natural lip color but a touch brighter. Rosy pinks, peachy nudes, and berry tones work well for most skin tones. The goal is to enhance, not overpower, so keep it subtle.
Layering For Extra Glow
If you want more shine, layer a clear gloss over your tint. Or, dab a bit of highlighter on your cupid's bow to make your lips look fuller and more luminous. Just don't overdo it—you want a soft glow, not a disco ball.
18. Apply Highlighter to the Collarbone and Shoulders
Your glow doesn't have to stop at your face. Extending a touch of highlighter to your collarbone and shoulders adds a seamless radiance that catches the light beautifully. It's a subtle trick that makes your skin look healthy and lit from within, especially when you're wearing off-the-shoulder tops or evening outfits.
Highlighting your collarbone and shoulders is an easy way to elevate your overall look. It draws attention to your upper body and creates a soft, luminous finish that feels polished and put-together. The key is to use a light hand and choose a shade that complements your skin tone.
Choose The Right Formula
For the body, a liquid or cream highlighter blends easily and gives a natural, dewy sheen. Stick formulas are also great for precise application. Powder highlighters work too, but they can look a bit dry on the skin unless you set with a mist.
Pick a shade that's close to your skin tone with a subtle shimmer—avoid anything too glittery.
Where To Apply
Focus on the tops of your collarbones, the points of your shoulders, and the area just above your chest. You can also add a swipe down the center of your chest for extra glow. Use a fan brush or your fingertips to tap the product in, blending well so there are no harsh lines.
Blend For A Natural Finish
The trick is to blend, blend, blend. You want a soft-focus effect, not a stripe. Use a damp beauty sponge or your fingers to pat the highlighter into the skin.
If you're using powder, apply it with a fluffy brush and then go over with a clean brush to soften the edges.
19. Use a Hydrating Concealer Under the Eyes
The under-eye area is often the first place to show fatigue, dryness, or fine lines. A heavy, matte concealer can settle into creases and make you look older. Switching to a hydrating formula changes everything—it smooths, brightens, and gives that soft-focus effect you're after.
Hydrating concealers are packed with moisturizing ingredients like hyaluronic acid or glycerin, which plump the skin and reflect light. They blend seamlessly, so you get coverage without the cakey finish. Plus, they keep the delicate skin around your eyes comfortable all day.
This step is all about choosing the right product and applying it with a light hand. The goal isn't to hide every imperfection but to create a smooth, radiant canvas that looks natural and fresh.
Pick The Right Formula
Look for concealers labeled 'hydrating, ' 'dewy, ' or 'illuminating. ' Avoid matte or long-wear formulas that can dry out the area. Creamy stick or liquid formulas with a satin finish work best. Check the ingredients for hyaluronic acid, squalane, or vitamin E—these help lock in moisture and prevent creasing.
Apply With A Damp Sponge
A damp beauty sponge is your best friend here. It presses the product into the skin without pulling or tugging, which can irritate the delicate under-eye area. Use a gentle stippling motion to blend, and build coverage only where you need it.
This technique keeps the finish light and airy, letting your natural glow show through.
Set With A Translucent Powder
To lock in the concealer without losing its hydrating benefits, dust a small amount of translucent setting powder with a fluffy brush. Focus on the inner corner and under the lash line, where creasing usually happens. Avoid heavy powder—just a light sweep will keep everything in place while maintaining that soft-focus look.
20. Set Your Makeup with a Translucent Powder Only Where Needed
Powder can be a glow killer if you dust it everywhere. The trick is to let your skin breathe and only tame the spots that naturally get shiny. By applying translucent powder strategically, you keep the rest of your face looking fresh and luminous.
Instead of a full-face powder sweep, focus on your T-zone—forehead, nose, and chin—where oil tends to break through first. Use a fluffy brush and a light hand, tapping off any excess before you press it into the skin. This way, your cheeks and the outer edges of your face keep their natural dewiness, and you avoid that flat, matte look.
Why Less Powder Means More Glow
Powder absorbs oil and blurs imperfections, but it also dulls the skin's natural radiance. When you apply it only where needed, you retain the light-reflecting quality of your base. The contrast between the matte T-zone and the dewy cheeks creates a soft-focus effect that looks both polished and natural.
How To Find Your Oily Zones
After a few hours of wear, check your face in natural light. The areas that look shiny—usually the forehead, nose, and sometimes the chin—are your powder targets. If your skin is combination, you might also need a touch on the sides of your nose or between your brows.
Everyone's map is a little different, so adjust based on what you see.
Application Tips For A Seamless Finish
Use a fluffy powder brush and dip it into the powder, then tap off the excess. Press the brush onto the oily areas rather than swiping, which helps the powder melt into the skin. If you prefer a sponge, a damp beauty blender works too—just use a light pressing motion.
Finish with a hydrating mist to meld everything together and restore a bit of glow.
21. Try a Glow Enhancing Drops Mixed with Moisturizer
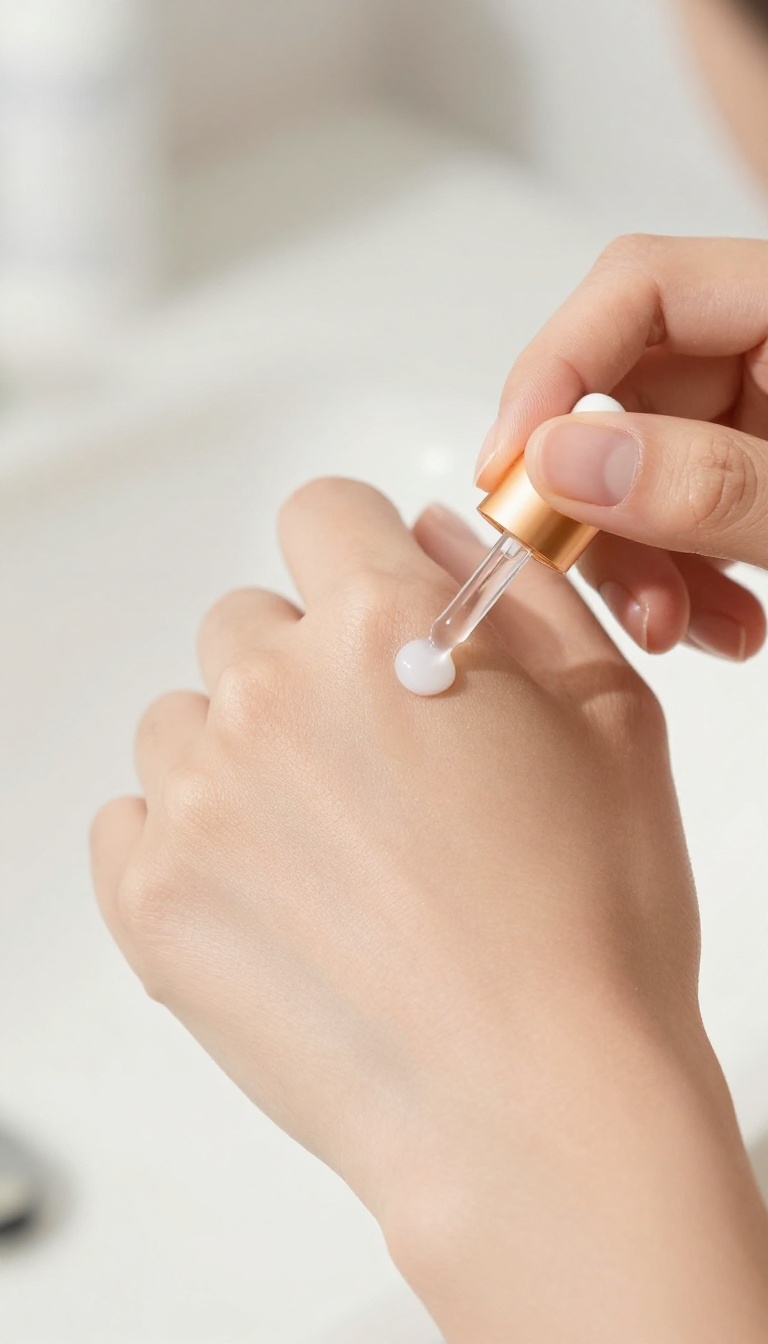
If you want a glow that looks like it's coming from within, this is the easiest trick. Mixing a few drops of liquid glow enhancer into your daily moisturizer gives your skin a radiant base that shows through any makeup. It's a simple step that makes a huge difference, especially when you want a soft-focus finish.
This method works because it hydrates and illuminates at the same time, prepping your skin for a seamless makeup application. The glow enhancer adds a subtle shimmer that reflects light, making your skin look naturally luminous. Plus, it's perfect for those days when you want to skip heavy foundation and just let your skin breathe.
How To Choose The Right Drops
Look for liquid glow enhancers that are lightweight and blend easily. Avoid ones with large glitter particles, as they can look chunky. Stick to formulas with fine, subtle shimmer or those that are more about hydration and light reflection.
If you have oily skin, choose a gel-based enhancer; if you're dry, go for an oil-based one.
Mixing Ratio And Application Tips
Start with one to two drops mixed into your moisturizer. You can always add more if you want a stronger glow. Apply the mixture evenly to your face, focusing on the high points like cheekbones and the bridge of your nose.
Let it sink in for a minute before applying foundation or concealer. This prevents any pilling and ensures a smooth, even base.
Where To Use It Beyond The Face
You can also mix a drop into your body lotion for a subtle all-over shimmer, especially on your collarbones and shoulders. Or, add a tiny amount to your hand cream for a soft sheen on your hands. It's a versatile product that can enhance your glow from head to toe.
22. Use a Shimmering Body Oil on the Cheekbones
A tiny amount of shimmering body oil on the top of your cheekbones adds a glossy, dewy highlight that looks like your skin is naturally glowing. It’s a trick that’s been around for ages, but it’s still one of the most effective ways to get that lit-from-within finish without piling on powder highlighters. The key is to use a very light hand and a product that’s more about shine than color.
Body oils are usually formulated with nourishing ingredients that leave skin feeling soft and hydrated, which is a bonus for your cheekbones. When you apply a small dab and blend it upward toward your temples, it catches the light beautifully and gives your face a fresh, healthy dimension. Plus, it’s a multi-purpose product—you can also use it on your collarbones or shoulders for a cohesive glow.
How To Apply For A Natural Finish
Start with a clean, moisturized face. Dip your ring finger lightly into the oil—just enough to get a thin film on the pad. Tap it onto the highest point of your cheekbone, then gently blend in small circular motions.
Don’t rub; just press and pat to let the oil melt into your skin. For a more diffused effect, you can mix a drop with your foundation or moisturizer and apply it all over.
Choosing The Right Oil
Not all body oils are created equal. Look for one that has a fine shimmer, not chunky glitter. Dry oils, like those with jojoba or squalane, absorb quickly and won’t feel greasy.
Avoid anything with a heavy fragrance if you have sensitive skin, and test it on your jawline first to make sure it doesn’t break you out.
When To Skip It
If you have very oily skin, you might want to skip this trick on your T-zone, but it’s still safe on the cheekbones. Also, if you’re going to be in direct sunlight, the shimmer might look a bit much—save it for evening or indoor events. And remember, a little goes a long way, so start with a tiny amount and build up if needed.
23. Apply Highlighter to the Bridge of the Nose
A thin line of highlighter down the bridge of your nose creates a subtle glow that makes your nose look straighter and adds a soft-focus effect. It's a quick trick that can elevate your whole makeup look without much effort. This technique works for any skin type, but the key is to use a light hand and a finely milled highlighter.
You want a natural sheen, not a stripe of shimmer.
To get the most flattering result, use a small, tapered brush or a beauty sponge to apply the highlighter. Start at the inner corner of your brow, right between your eyes, and sweep down to the tip of your nose. Keep the line thin and straight.
If you have a wider nose, you can place the highlighter slightly closer together to create the illusion of a slimmer bridge. For a more subtle effect, tap the product on with your fingertip instead of sweeping it on.
Choose The Right Formula
For a soft-focus glow, opt for a powder highlighter with a satin or pearl finish. Avoid chunky glitter formulas, as they can emphasize texture. If you prefer cream or liquid, apply a tiny amount and blend well to avoid streaks.
Blend For A Seamless Look
After applying the highlighter, use a clean brush or sponge to blend the edges. You want it to melt into your skin, not sit on top. A little blending goes a long way to make it look natural.
Pair With Other Glow Spots
This nose highlight works beautifully when paired with highlights on the cheekbones, brow bone, and cupid's bow. Just keep the rest of your face balanced so the glow looks cohesive.
24. Use a Cream Eyeshadow in a Shimmering Neutral
Cream eyeshadows are a glow lover's best friend. They melt into the skin for a seamless, luminous wash of color that powder formulas just can't match. Plus, you can apply them with your fingers in seconds, making them perfect for busy mornings or touch-ups on the go.
The key is to pick a shade that flatters your skin tone while adding a soft, radiant sheen. Champagne works beautifully on fair to light skin, rose gold adds warmth to medium tones, and bronze deepens the glow on darker complexions. These shades catch the light without looking glittery, giving your eyes that fresh, awake appearance.
How To Apply For Maximum Glow
Swipe a small amount of cream shadow onto your eyelid with your ring finger, starting at the center and blending outward. For a more intense glow, pat on an extra layer. Keep the edges soft by blending with a clean finger or a fluffy brush.
This technique ensures a diffused, soft-focus effect that lasts all day.
Pairing With Other Glow Products
Cream eyeshadow pairs beautifully with other cream products, like a liquid highlighter on the cheekbones or a dewy tinted moisturizer. The cohesive texture creates a uniform, lit-from-within look. If you prefer a more matte finish on the rest of your face, the shimmering eyeshadow will still stand out as a subtle focal point.
25. Finish with a Glow Boosting Powder Over the Whole Face
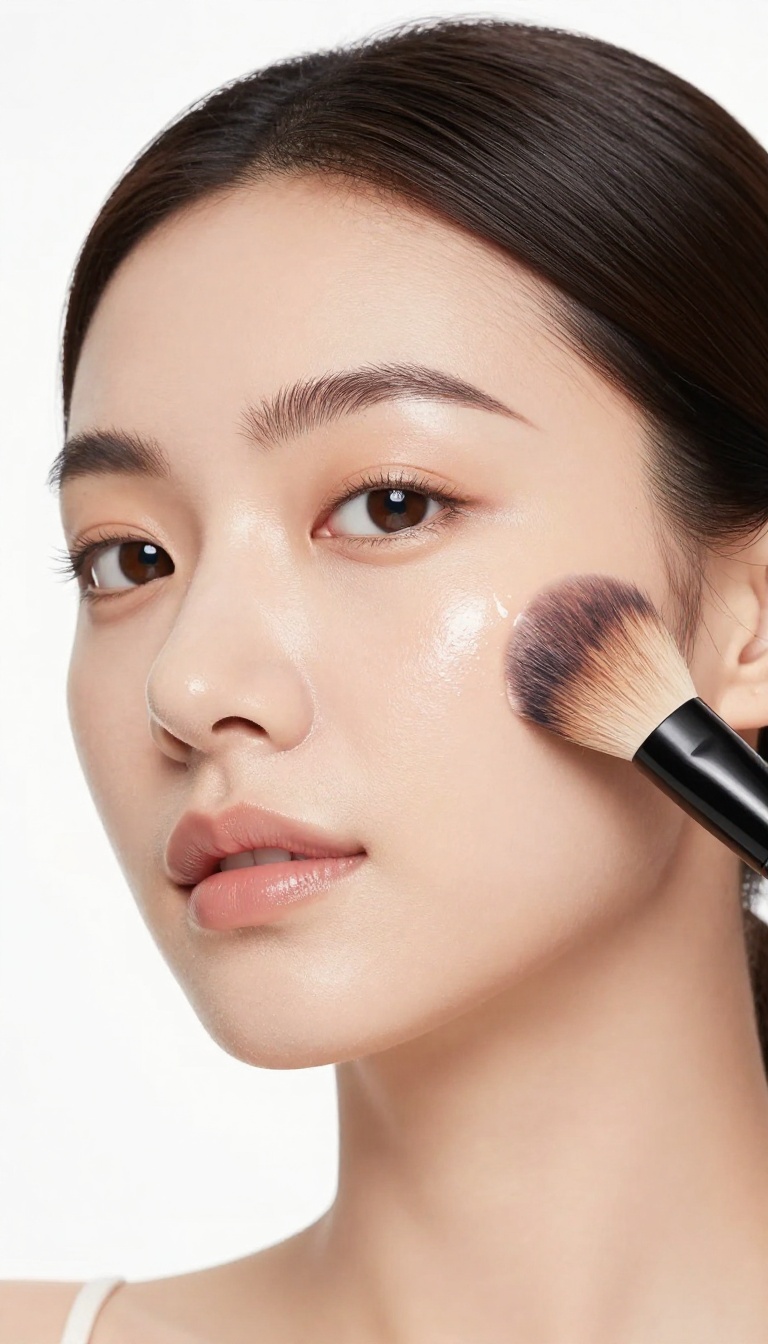
A final dusting of glow powder is like the cherry on top of your makeup sundae. It ties everything together with a soft, even luminosity that looks natural, not sparkly. The key is to use a translucent formula and a fluffy brush for a light hand.
After you've set your makeup, dip a fluffy brush into a glow powder and tap off the excess. Then, sweep it over your entire face in big, circular motions. This adds a subtle sheen that catches the light without emphasizing texture.
It's the perfect finishing touch for a soft-focus glow that lasts all day.
Choosing The Right Powder
Look for a powder that's finely milled and has a satin or luminous finish. Avoid anything with visible glitter or shimmer. A little goes a long way, so start with a small amount and build up if needed.
Application Tips
Use a large, fluffy brush (like a powder brush) and tap off any excess product before applying. Press the brush onto your skin rather than swiping, to ensure an even distribution. Focus on the high points of your face—cheekbones, forehead, and nose—but don't forget the rest for an all-over glow.
Best For Skin Types
This technique works for all skin types, but it's especially great for dry or dull skin. If you have oily skin, choose a powder with oil-absorbing properties to avoid looking greasy. For combination skin, apply it only to the dry areas.
FAQ
How can I get a glow without looking greasy?
Focus on hydrating your skin and using cream products that melt into the skin. Set only the T-zone with powder and use a setting spray with a dewy finish to lock in the glow without excess shine.
What's the best highlighter for a natural glow?
A liquid or cream highlighter in a champagne or pearl shade gives the most natural, skin-like glow. Apply it to the high points of your face and blend well for a soft-focus effect.
Can I achieve a glow with matte makeup?
Yes, you can mix a liquid highlighter into your matte foundation or use a dewy setting spray. You can also add a subtle highlighter on the cheekbones and brow bone to create a glow without changing your base.
How do I make my glow last all day?
Start with a hydrating primer, use cream products, and set with a dewy setting spray. Carry a glow-enhancing mist to refresh your makeup throughout the day.
Are these glow makeup ideas suitable for oily skin?
Absolutely. For oily skin, focus on hydrating but oil-free products, use a mattifying primer on the T-zone, and apply highlighter sparingly. Set with a powder and use a setting spray to control shine while keeping a subtle glow.
Conclusion
The soft-focus glow isn't about piling on product—it's about letting your skin breathe and catching the light. Pick two or three of these ideas that feel doable for your morning rush, and work them into your routine. A blurring primer here, a dewy finish there, and you'll have that lit-from-within look without the heavy layers.
Start small, keep it simple, and let your natural radiance do the talking. That's the real secret to a bright, fresh finish.